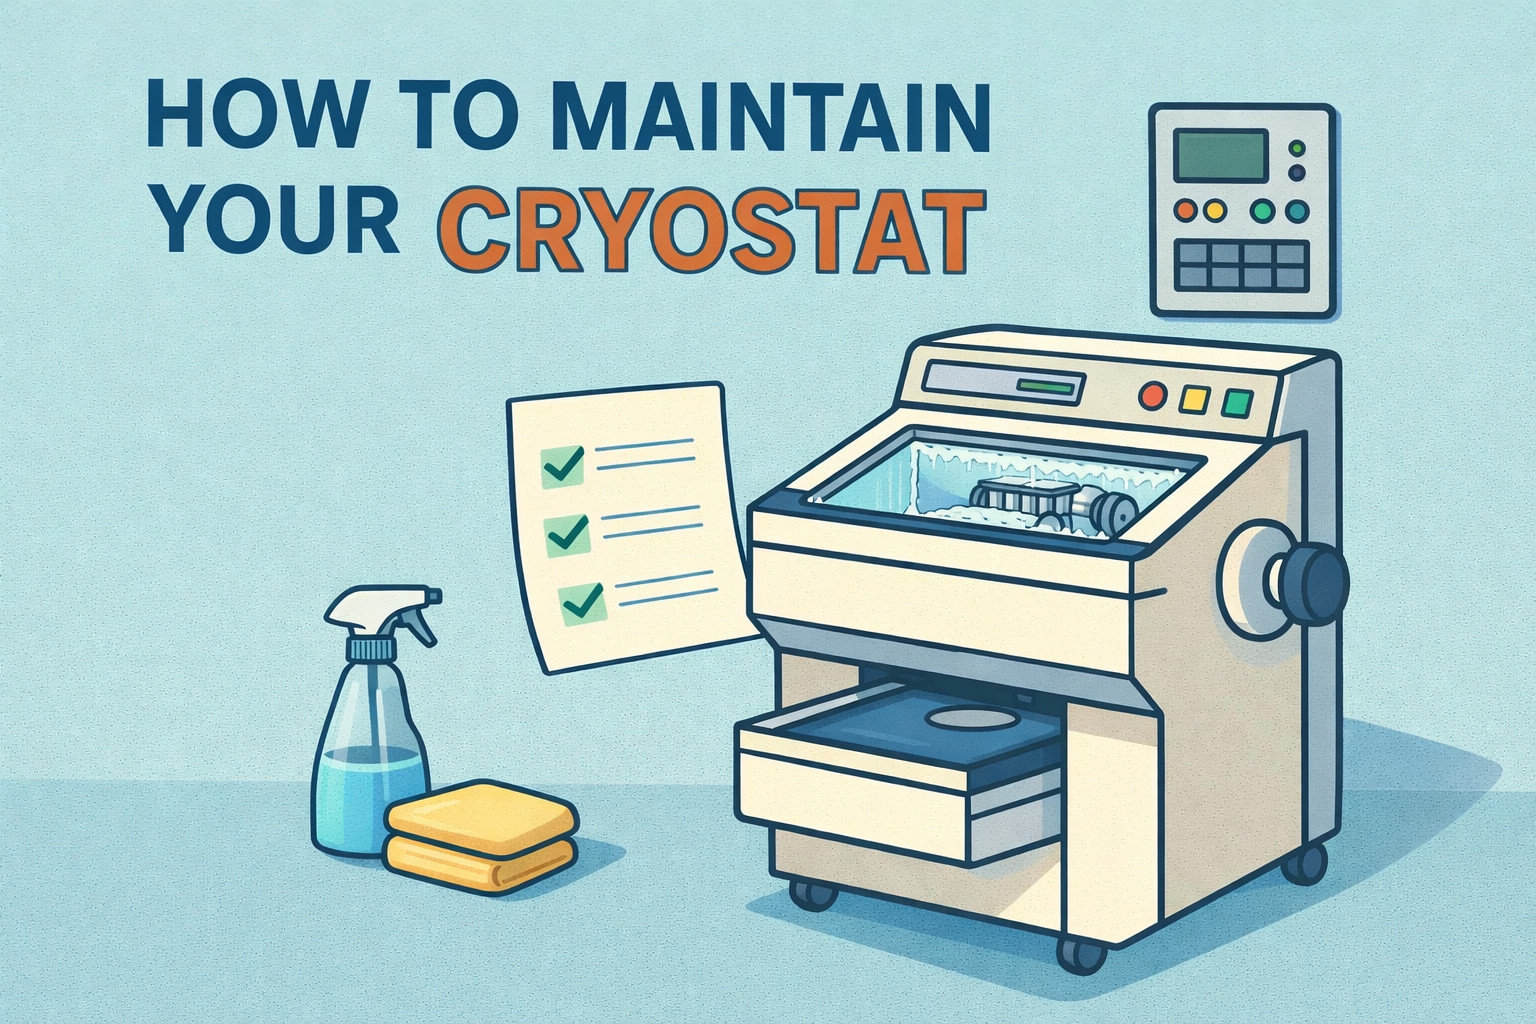
Properly maintaining your cryostat is essential for ensuring its longevity and efficiency. In this comprehensive guide on how to maintain your cryostat, we will cover crucial steps for cleaning, disinfection, and general upkeep. Following these guidelines will help keep your equipment in top condition and ensure reliable performance.
Daily Maintenance
To start, daily maintenance is crucial for your cryostat. Here’s how to maintain your cryostat effectively every day:
- Wear Protective Gear: Always use gloves, a face mask, and a lab coat during cleaning and disinfection. This helps protect you and ensures a hygienic environment.
- Remove Frozen Section Waste: Each day, use a cold brush to remove frozen section waste from the cryostat. This prevents contamination and keeps the cryostat running smoothly.
Cleaning at Room Temperature
Cleaning your cryostat at room temperature involves several important steps. Understanding how to maintain your cryostat during this process is crucial:
- Switch Off the Cryostat: Always ensure the cryostat is turned off before beginning any cleaning. This is important for your safety and to avoid damage to the equipment.
- Remove Items from the Chamber: Carefully take out the knife, disposable blade, specimens, and any accessories from the cryochamber.
- Dispose of Section Waste: Remove and dispose of the section waste from the cryochamber properly.
- Remove the Sliding Window: Gently lift and remove the sliding window from the front of the cryostat.
- Clean the Chamber Walls: Use a paper towel moistened with an alcohol-based disinfectant to clean the chamber walls. Avoid solvents like xylene or acetone as they can damage the equipment.
- Drain the Disinfectant: Position a waste container under the drain tube at the right side of the cryostat. Remove the rubber plug from the chamber’s bottom and let the disinfectant drain into the container.
- Re-Seal the Chamber: After draining, replace the rubber plug to seal the drain.
- Dispose of Liquid Properly: Dispose of the disinfectant in accordance with your laboratory’s waste disposal regulations.
- Dry and Reassemble: Allow the cryochamber to dry thoroughly before reinserting the disinfected accessories and tools. Once dry, turn the cryostat back on and wait until it reaches the correct temperature before returning the specimens.
Weekly Maintenance
For effective upkeep, knowing how to maintain your cryostat on a weekly basis is key:
- Lubricate the Plastic Coupling: Apply a drop of cryo oil to the plastic coupling to ensure smooth operation.
- Lubricate the Specimen Cylinder: Move the specimen cylinder to the front stop position using the coarse feed button. Apply a drop of cryo oil and move the cylinder back to the home position.
- Clean Air Inlet Opening: If you observe visible pollution or dust, clean the air inlet opening of the condenser using a brush, broom, or vacuum cleaner. Always wear cut-resistant gloves to prevent injury from sharp edges.
Occasional Maintenance
Knowing how to maintain your cryostat occasionally can prevent issues and ensure smooth operation:
- Lubricate Clamping Pieces and Slot Cover: Apply cryo oil to the clamping piece on the microtome base plate and the clamping lever. For the slot cover, move the specimen head up and down while applying and distributing the oil.
- Clean the Air Inlet Opening: Regularly check and clean the air inlet opening of the condenser to prevent dust buildup.
Replacing Fuses
When replacing fuses, understanding how to maintain your cryostat’s electrical components is important:
- Turn Off and Unplug: Ensure the cryostat is turned off and unplugged before replacing fuses.
- Replace Defective Fuses: Unscrew the sleeve of the defective fuse, remove it, insert a new fuse, and screw the sleeve back in. Follow the specific fuse types listed in the manual.
Removing the Sliding Window
For cleaning or maintenance, knowing how to maintain your cryostat’s sliding window is crucial:
- Switch Off and Unplug: Turn off the cryostat and disconnect the power plug.
- Remove the Sliding Window: Lift the sliding window by the grip and pull it out. Perform your cleaning tasks and reinsert the window before reconnecting the power.
Replacing LED Illumination
If the LED illumination is damaged, contact Leica customer service for replacement. Proper maintenance of your cryostat includes ensuring all components, like the LED illumination, are functioning correctly.
Conclusion
Understanding how to maintain your cryostat is vital for its longevity and efficiency. Regular cleaning, disinfection, and lubrication are essential for keeping your cryostat in optimal condition. By following these guidelines, you’ll ensure that your cryostat remains a reliable and efficient tool in your lab.
For more detailed guidance on how to maintain your cryostat, or if you need professional assistance, contact Paradise Biomedical. Our team is dedicated to providing high-quality medical equipment services and support.
Looking for a replacement Cryostat?
Looking for reliable cryostats at a more affordable price? At Amtech Medical, we offer a wide selection of high-quality used cryostats that are perfect for your laboratory needs. Our pre-owned cryostats are meticulously inspected and refurbished to ensure they meet the highest standards of performance and safety.
Why Choose Used Cryostats from Amtech Medical?
- Cost-Effective Solutions: Save on expenses without compromising on quality. Our used cryostats provide excellent value while maintaining the reliability you need.
- Thoroughly Inspected and Refurbished: Each cryostat undergoes a rigorous inspection and refurbishment process to ensure optimal functionality and reliability.
- Expert Support: Our team is here to assist you in finding the right cryostat for your specific needs and provide ongoing support to ensure your equipment operates smoothly.
- Find some of our selection below