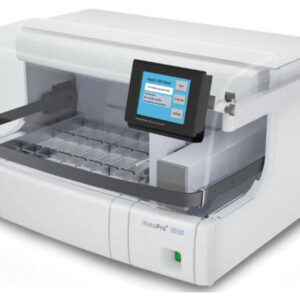
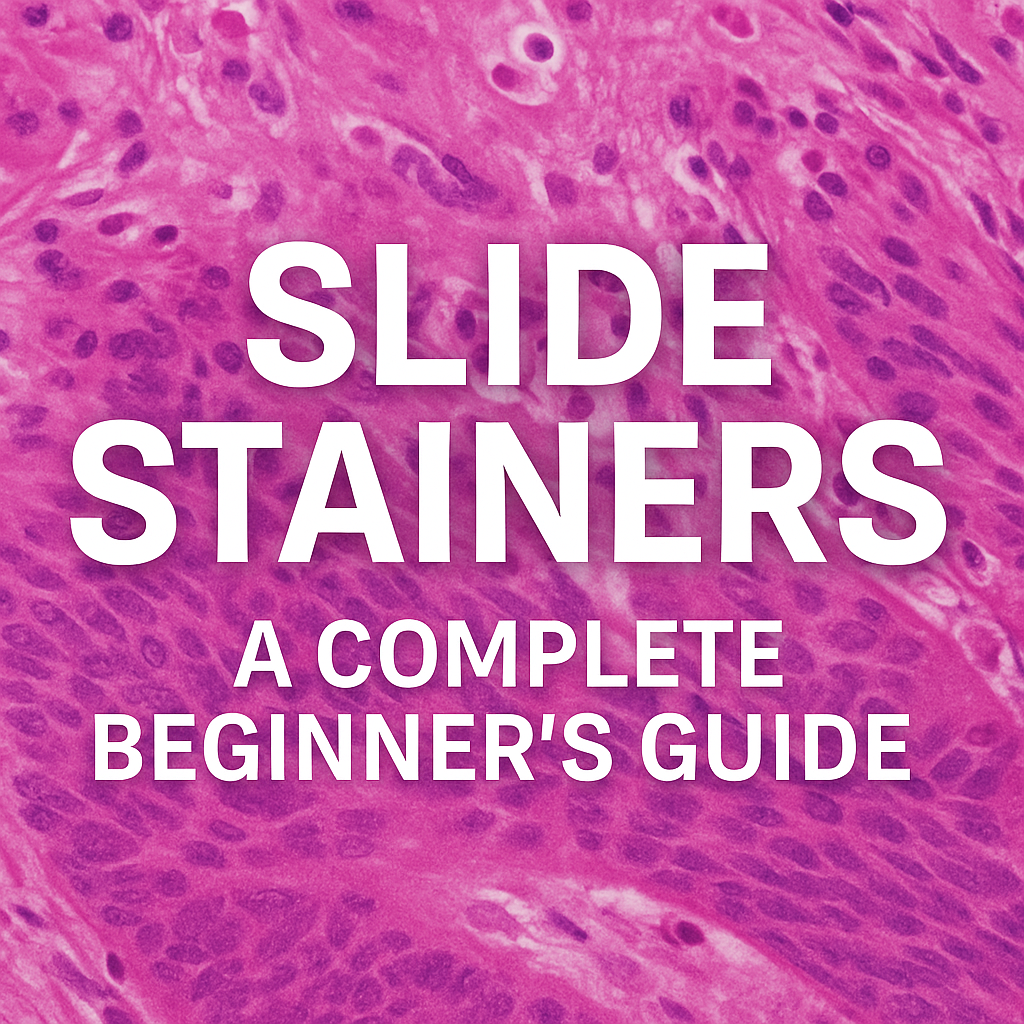
In every histology or dermatology lab, preparing tissue slides is only part of the job — staining them properly is what brings the science to life. The slide stainer is one of the most crucial instruments in this process, ensuring that each sample reveals the cellular detail needed for accurate diagnosis.
Whether you’re new to lab work or looking to understand how staining fits into the tissue preparation workflow, this guide will walk you through everything you need to know about slide stainers — what they are, how they work, and why they matter.

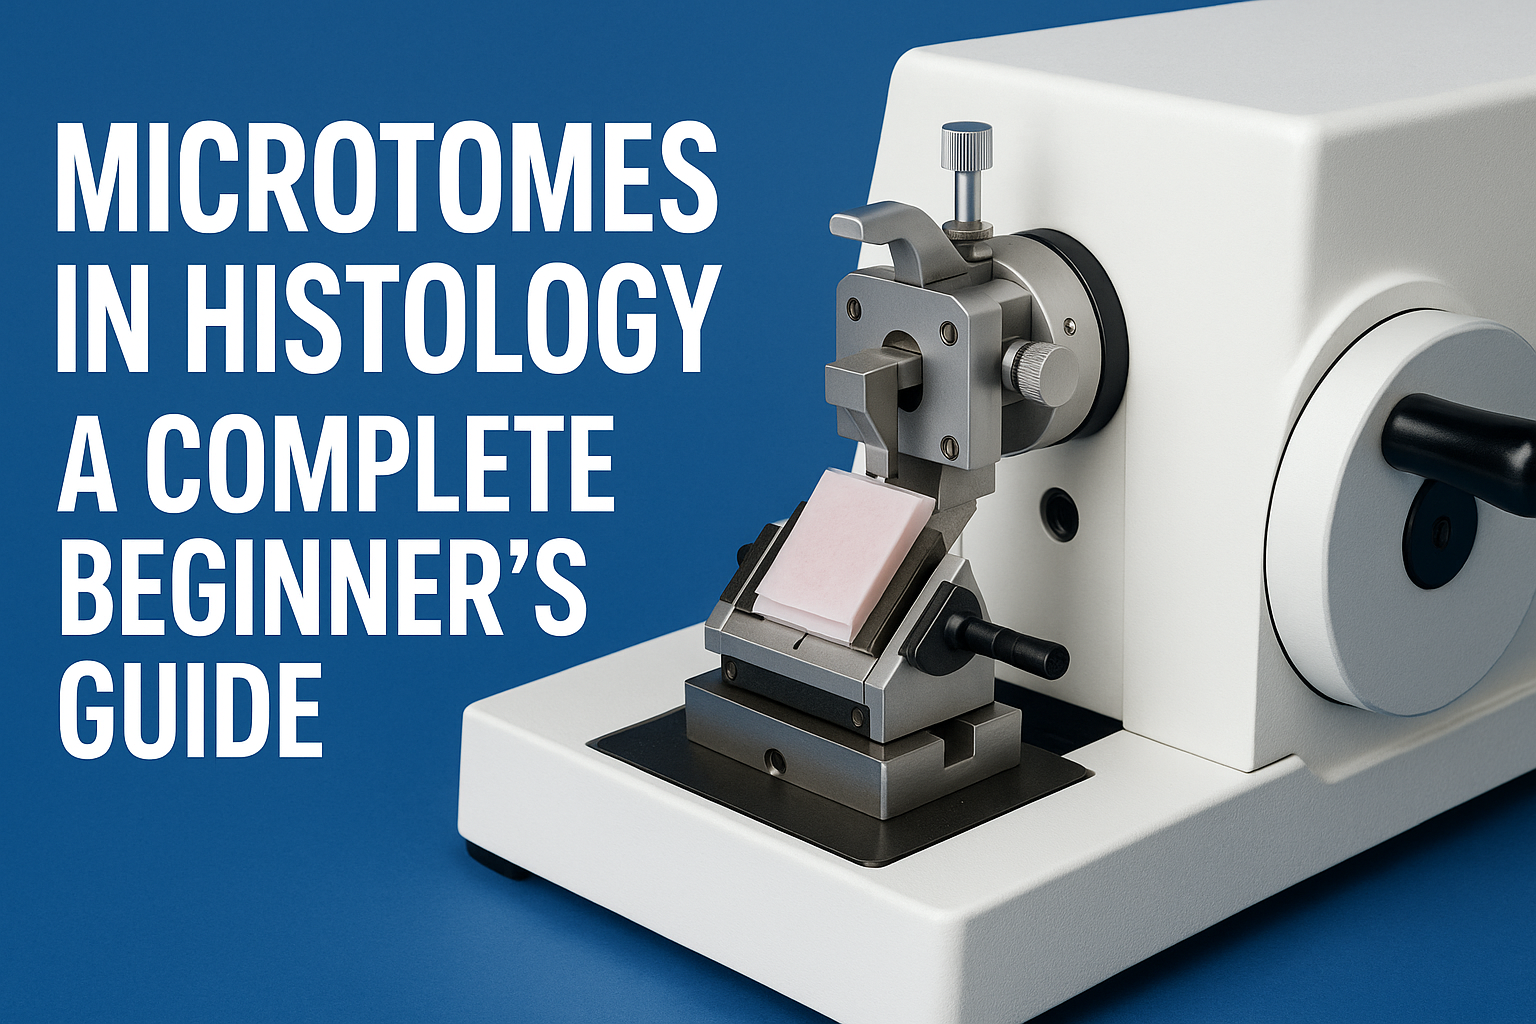
What Is a Slide Stainer?
A slide stainer is a laboratory instrument designed to automate the process of applying dyes and reagents to prepared tissue sections. Staining enhances contrast within biological tissue, allowing microscopic structures like nuclei, cytoplasm, and connective tissue to be seen clearly.
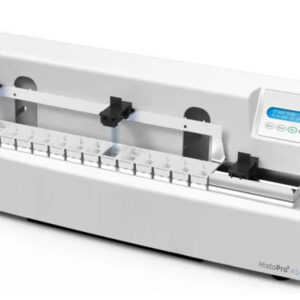
While manual staining can be done with forceps and jars of dye, slide stainers bring precision, repeatability, and efficiency — especially in high-volume labs.
Why Slide Staining Is Important
Without proper staining, even the thinnest tissue section looks like a translucent sheet under the microscope. Stains bind to specific cellular components, highlighting the features that pathologists rely on for diagnosis.
For example:
- Hematoxylin stains nuclei a deep blue or purple.
- Eosin colors the cytoplasm and connective tissues pink.
- Special stains (PAS, Trichrome, Gram, etc.) highlight specific tissue structures or microorganisms.
Automated stainers ensure consistent application, timing, and rinsing for each slide — eliminating variability between technicians and improving diagnostic accuracy.
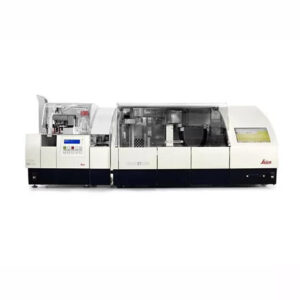
How Slide Stainers Work
Though models differ, most stainers follow a similar step-by-step sequence:
- Load the Slides: Technicians place racks of prepared slides onto the machine.
- Select the Program: Choose a protocol — H&E (Hematoxylin & Eosin), special stain, or immunohistochemical (IHC) sequence.
- Reagent Dispensing: The machine automatically applies dyes, buffers, and rinses in the proper order and timing.
- Rinsing and Drying: Between each reagent, the slides are rinsed or dipped to prevent cross-contamination.
- Coverslipping (Optional): Some systems integrate a coverslipper to seal the stained tissue under a protective glass cover.
Each program can include dozens of steps, but automation ensures perfect timing and reagent consistency every time.
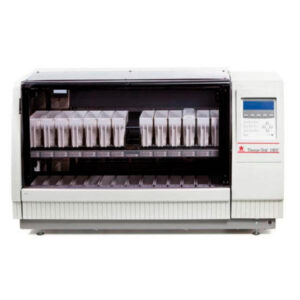
Types of Slide Stainers
1. Routine (H&E) Slide Stainers
Hematoxylin and Eosin (H&E) staining is the foundation of histology. Nearly every biopsy, surgical specimen, or dermatology tissue sample goes through this two-dye process.
Routine H&E stainers are built for efficiency and repeatability. They’re designed to handle large volumes of slides quickly — sometimes hundreds per hour — while maintaining uniform staining quality across every batch.
These systems typically feature:
- Pre-programmed H&E protocols with customizable timing
- Automated reagent exchanges for clean, consistent results
- Drying stations and coverslipping modules (in advanced models)
Because H&E is the most frequently performed stain in any pathology or dermatology lab, these stainers are considered essential equipment.
Common users: Hospital pathology departments, dermatology labs, and academic teaching facilities.

2. Special Stainers
While routine stains are used for general tissue architecture, special stains highlight specific structures or chemical components within cells and tissues. These tests help pathologists identify diseases, infections, and metabolic abnormalities that wouldn’t show up with H&E alone.
Special stainers are often capable of running dozens of stain protocols such as:
- Periodic Acid–Schiff (PAS) for glycogen and fungal elements
- Ziehl-Neelsen for acid-fast bacilli (e.g., tuberculosis)
- Masson’s Trichrome for muscle, collagen, and fibrosis
- Gomori Methenamine Silver (GMS) for fungi and basement membranes
- Gram Stain for bacterial identification
Automated special stainers save hours of manual handling and reduce reagent exposure. Because these stains often involve delicate chemical reactions, automation ensures the accuracy and reproducibility that manual methods can’t always achieve.
Common users: General pathology labs, infectious disease centers, and dermatopathology facilities diagnosing complex conditions.Used when testing for specific diseases or microorganisms. They can run stains such as Ziehl-Neelsen for TB, PAS for glycogen, or Gram stains for bacteria.
3. Immunohistochemistry (IHC) Stainers
These advanced systems apply antibodies and chromogens to identify proteins within tissue. IHC staining is crucial for cancer diagnosis and molecular pathology.
4. Manual and Semi-Automated Stainers
Smaller labs may still use manual or semi-automated systems. They are more affordable but require careful attention and timing from the operator.
Key Components of a Slide Stainer
- Reagent Stations: Small containers that hold stains, buffers, and rinses.
- Robotic Arm or Carousel: Moves slides from one station to the next automatically.
- User Interface/Touchscreen: Where the operator selects staining protocols.
- Drain and Waste System: Collects used reagents for disposal.
- Drying and Cooling Section: Prepares slides for coverslipping or microscopy.
Safety and Maintenance
Like all lab instruments, slide stainers require routine care to stay reliable:
- Clean reagent trays daily to prevent contamination.
- Replace reagents regularly — especially alcohols, xylene, and stains that degrade over time.
- Run system rinses at the end of the day.
- Schedule preventive maintenance every 6–12 months for calibration and seal replacement.
Most modern systems have sensors to alert users to low reagent levels or blocked lines, minimizing errors before they affect results.
What Beginners Should Know Before Operating a Slide Stainer
If you’re new to the histology lab, here are the basics to keep in mind:
- Always verify the staining protocol before running a batch — small errors can ruin dozens of slides.
- Label slides clearly to prevent mix-ups.
- Keep reagents capped to avoid evaporation and contamination.
- Never skip the cleaning cycle; residue buildup can cause inconsistent staining.
- Handle slides carefully after staining — fingerprints, smudges, or dust can obscure microscopic details.
Slide Stainers and Dermatology
In dermatology, slide stainers are used in both Mohs surgery and routine histopathology. Rapid turnaround is critical in Mohs labs, where pathologists need immediate results to determine if all cancerous tissue has been removed. Automated stainers make that possible by completing high-quality stains in minutes rather than hours.
Final Thoughts
Slide stainers are the bridge between tissue preparation and microscopic diagnosis. For beginners, understanding how they function — and how they fit into the larger histology workflow — is the first step to mastering the art and science of histological staining.
Automation, precision, and proper care are what keep these systems producing beautiful, diagnostic-quality slides day after day.