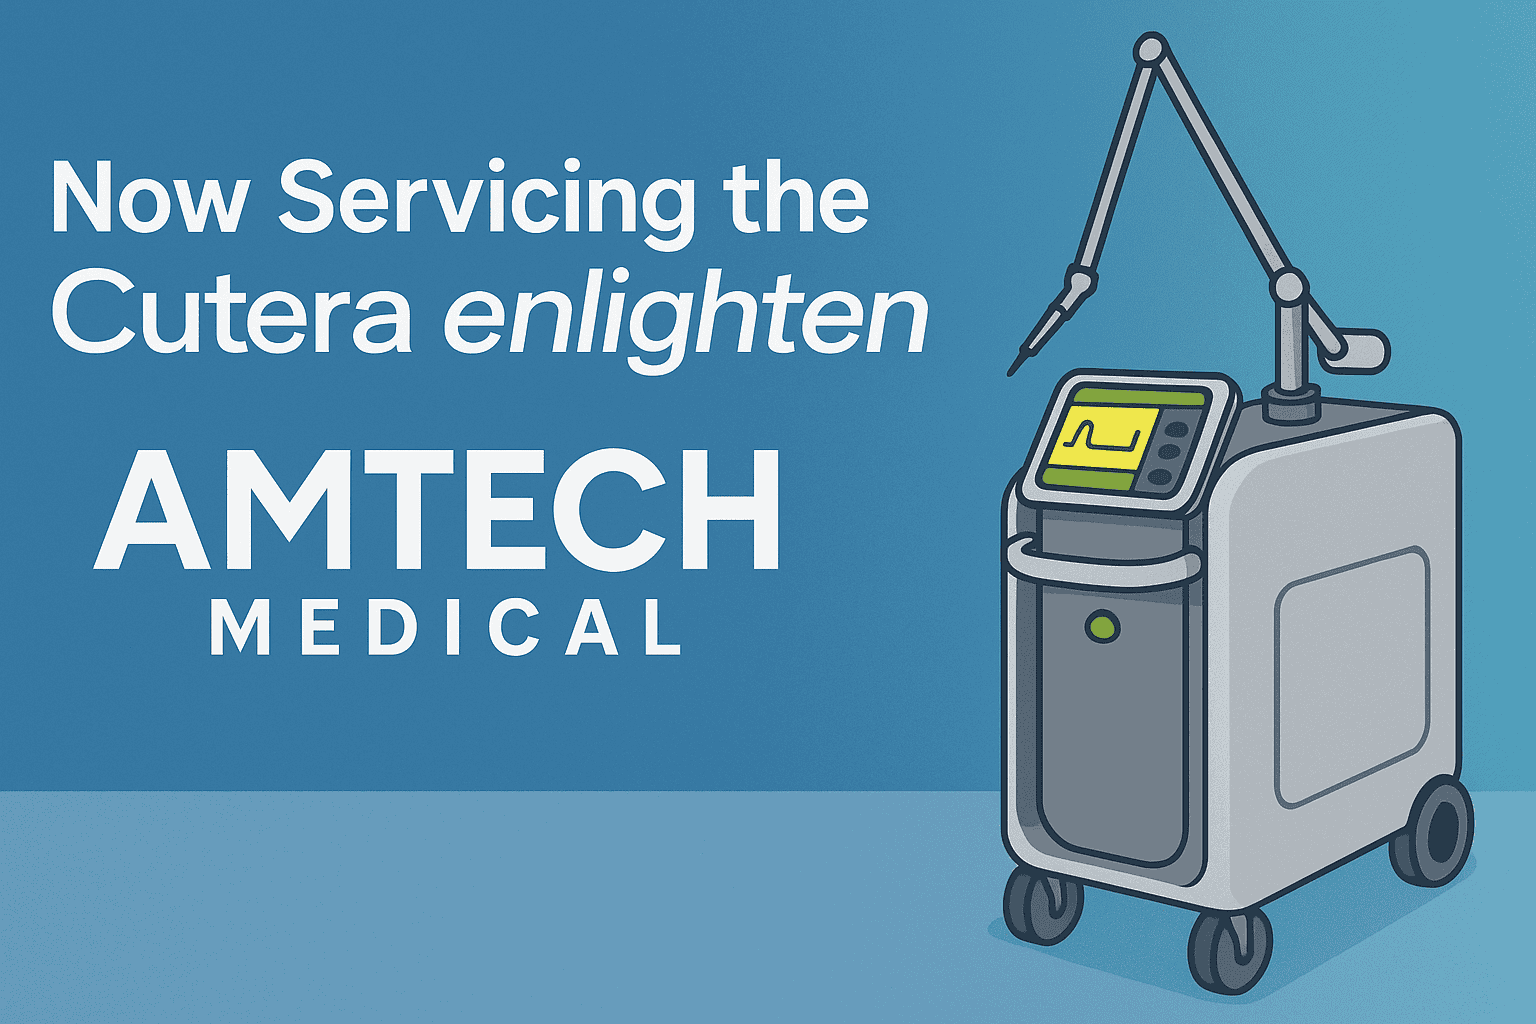
For years, clinics operating Cutera Enlighten systems have relied almost exclusively on OEM service—often at steep cost and with frustrating delays.
That Changes Now.
Amtech Medical now offers full-service support for the Cutera Enlighten and Enlighten III platforms. From diagnostics and calibration to handpiece rebuilds and complex error resolution, we deliver fast, reliable, and independent service for one of the most advanced laser systems in aesthetics.
Why This Matters to Your Clinic
The Enlighten and Enlighten III aren’t just premium laser platforms—they are critical revenue-generating systems for medspas and dermatology practices.
Designed for tattoo removal, pigmentation correction, and skin revitalization, these systems rely on precision and uptime. But when service is needed, clinics often face significant challenges:
Expensive OEM service contracts with limited flexibility
Replacement parts that take weeks to arrive
Scheduling delays that result in lost revenue and downtime
That’s where Amtech Medical comes in.
What Amtech Medical Offers
We are one of the few independent biomedical service providers in the United States equipped to support both the Cutera Enlighten and Enlighten III systems with the tools, training, and parts required for high-level service.
✅ Advanced Diagnostics & Troubleshooting
Our technicians are trained on the Enlighten platform’s fault code system—including complex and undocumented errors. We perform full system diagnostics to quickly identify root causes and reduce downtime.
✅ Laser Calibration & Optical Alignment
We perform precision calibration across all wavelengths—532 nm, 1064 nm, and 670 nm (Enlighten III)—using OEM-compliant procedures to ensure safe, consistent treatment output.
✅ Handpiece Repair & Shot Count Resets
We rebuild Enlighten handpieces, replace damaged optics, resolve overheating issues, and reset shot counters—extending the usable life of your equipment.
✅ Fast Turnaround & On-Site Service
With in-stock parts and a nationwide technician network, we can often dispatch service within 24–48 hours—minimizing costly downtime.
✅ Transparent Pricing & Warranty
We provide clear estimates, competitive pricing, and back our work with a full service guarantee—no hidden fees or vague diagnostics.
A Smarter Alternative to OEM Servicing
Cutera manufactures a high-quality system—but like many OEMs, their service model can be restrictive:
Warranties may be voided with third-party service
Limited access to tools and diagnostics
Parts restricted to OEM distribution channels
Despite these barriers, Amtech Medical has invested heavily in overcoming them—developing proprietary diagnostic processes, sourcing compatible components, and building hands-on expertise across multiple Enlighten systems.
Bottom line:
You no longer have to accept long lead times, high costs, and limited service options. A faster, more flexible solution is now available.
Why Clinics Trust Amtech Medical
We’ve been servicing complex medical and aesthetic devices for over a decade. Our team includes engineers and biomedical specialists with hands-on experience across platforms from Cutera, Cynosure, Lumenis, Candela, and more.
Here’s why hundreds of clinics across the U.S. trust Amtech Medical:
🔧 Technical Expertise
We understand laser systems at a deep level—from power supply boards to articulated arms and optical paths.
📍 Nationwide Coverage
On-site repairs, depot service, or remote diagnostics—flexible service options tailored to your clinic.
🔒 Compliance & Safety
We follow strict service protocols to ensure patient safety and maintain device integrity.
💬 Customer Support
Real people, clear communication, and real-time updates throughout your service process.
What this means for you: You now have a trusted, independent service partner for your Cutera Enlighten system—without the limitations of OEM-only support.
FAQ: Cutera Enlighten Service
Who can service a Cutera Enlighten or Enlighten III machine?
Historically, only Cutera offered official service. Today, Amtech Medical is one of the few independent providers offering diagnostics, calibration, and repair services for these systems.
How do I know if my Enlighten laser needs repair?
Common signs include startup error codes (e.g., 006, 1602, 1530), inconsistent output, or failure to fire. We also offer remote diagnostics to help assess issues quickly.
Does third-party service void my warranty?
If your system is still under OEM warranty, third-party service may affect coverage. However, most Enlighten units are out of warranty—making independent service a cost-effective option.
Can Amtech source Enlighten handpieces or parts?
Yes. We maintain inventory and can refurbish or replace key components, including handpieces, optics, and cooling systems.
What is the turnaround time for service?
Most service is completed within 2–5 days, depending on complexity and location. On-site visits are often available within 24–48 hours.
Ready to Get Your Enlighten Laser Back in Action?
You invested in a world-class device—now let Amtech help you keep it performing at its peak without delays or excessive service costs.
The Daavlin 3 Series was once one of the most widely used narrowband UVB phototherapy systems in dermatology practices. It provided effective light therapy treatment for chronic skin conditions including psoriasis, vitiligo, and eczema, without the systemic side effects associated with medication-based therapies.
However, many clinics searching for the Daavlin 3 Series today discover confusing or conflicting availability information. That is because the company that originally manufactured the 3 Series has undergone a significant transition.
Daavlin Has Rebranded Into Phothera
Daavlin, a long-standing manufacturer of medical phototherapy equipment, has rebranded and consolidated its domestic home-use operations under the name Phothera.
Phothera now handles home phototherapy prescriptions and support in the United States.
Daavlin branding may still appear internationally or in legacy documentation.
This rebrand has contributed to the reduced visibility of the Daavlin 3 Series and other legacy models.
Is the Daavlin 3 Series Still Manufactured?
No. The Daavlin 3 Series is no longer actively produced or sold new.
While the unit is still recognized in regulatory documentation and may appear in distributor archives, it is no longer a current-production model and is not available from the manufacturer as a new unit.
Why the 3 Series Was Discontinued
Shifts toward more modern treatment platforms
Consolidation of product lines during the Daavlin → Phothera transition
Regulatory trends favoring newer control systems and traceable dosing software
Increasing difficulty sourcing replacement components and lamp configurations for older systems
This means that any Daavlin 3 Series available today is either:
Used clinic inventory being released during equipment upgrades
Previously owned
Refurbished
Are Any Daavlin / Phothera Clinical Phototherapy Units Available New?
At this time, Phothera does not publicly list or offer newly manufactured full-body or partial-body clinical UVB systems equivalent to the Daavlin 3 Series for purchase through standard commercial channels.
Instead, Phothera is currently focused on:
Home-use narrowband UVB systems provided via physician prescription
Patient therapy support programs
Replacement and follow-up care for existing users
Meaning for Clinics
If your clinic needs:
To replace an aging Daavlin 3 Series
To start offering in-clinic phototherapy
To expand treatment capacity
You will likely need to consider refurbished clinical units or alternative manufacturers still producing commercial UVB treatment systems.
Current Phothera Models That Replace the 3 Series
If you’re looking to purchase a new unit rather than source a used 3 Series, here are some of the current models from Phothera worth considering:
Phothera Pro 4000 XL: A larger capacity clinical phototherapy cabinet, engineered for clinics seeking high throughput and advanced features (touchscreen interface, advanced reflectors, etc.).
Phothera Pro 4800 Max: Among the top-end models for full-body clinic phototherapy: built for superior power and precision, with advanced safety and efficiency features.
Phothera 600 (home model): For clinics considering patient home-use devices or smaller spaces, this model brings full-body NB-UVB therapy into home settings.
Phothera Pro HF: For localized treatment (hands/feet) in clinic settings, a high-performance system for smaller focal areas.
These models represent the current generation of phototherapy offerings from Phothera, thus serving as the natural successor options for clinics that once used the Daavlin 3 Series.
Non-Daavlin Phototherapy Alternatives
Some clinics prefer to evaluate equipment from other manufacturers, depending on budget, footprint, and patient volume:
Appropriate for maintenance protocols and small treatment zones
Choosing between these depends on whether your clinic needs full-body therapy, targeted therapy, or a hybrid model.
What If Your Clinic Already Owns a Daavlin 3 Series?
Many practices still rely on the 3 Series — and there is no need to replace it solely because it’s older. With proper servicing and lamp documentation, these units can continue to perform effectively.
However, clinics should evaluate:
Lamp age and output consistency
Power supply condition
Availability of replacement components
Calibration and safety verification records
If you are uncertain, we can help assess whether your current unit is performing within treatment standards.
Who Typically Looks for a Daavlin 3 Series Now?
You may want a 3 Series if you are:
A dermatology practice adding phototherapy to clinical services
A clinic replacing a unit that recently failed
A provider expanding beyond biologics or prescription-only therapies
A clinic wanting to offer non-systemic long-term management options for chronic skin conditions
Because these units are no longer actively produced, sourcing one requires careful vetting.
Where to Find a Daavlin 3 Series Today
When sourcing a medical phototherapy device, safety documentation and functional lamp quality are critical. Most units available today come from:
Refurbished Medical Equipment Suppliers These suppliers acquire used clinical units, restore them, test them, replace lamps when necessary, and provide documentation.
Dermatology Practices Transitioning to New Systems Some offices upgrade to full-body booths or updated digital platforms and may release their previous units.
Secondary Medical Equipment Marketplaces (Use Caution) eBay and auction sites may list Daavlin units, but many of these require service, and lamp output must be verified for clinical use.
How Amtech Medical Helps Clinics With Phototherapy Equipment
While we do not buy or resell Daavlin 3 Series units, we support clinics in the following ways:
Locating available refurbished systems through verified clinical equipment channels
Advising on whether a 3 Series or a newer platform is a better fit based on treatment model
Servicing and refurbishing existing phototherapy systems already in your clinic
Lamp replacement sourcing
Compliance-oriented equipment documentation support
If your clinic is trying to obtainor sell , or evaluate a Daavlin 3 Series system, we can guide you through the safest and most cost-effective options.
Dermatology practices depend on highly specialized medical equipment every day: from surgical chairs and autoclaves to histology lab devices and medical & aesthetic laser systems. For those in this field, choosing reliable services like Amtech Preferred can ensure that the performance of this equipment directly affects patient outcomes, scheduling, revenue continuity, and compliance.
This is the problem that Amtech Preferred was designed to solve.
What Is Amtech Preferred?
Amtech Preferred is a comprehensive equipment service and maintenance program for dermatology practices, med-spas, and histology laboratories. Rather than locking clinics into traditional, high-cost OEM service contracts, Amtech provides a centralized, cost-efficient, and flexible service model that covers the full range of equipment found in dermatology settings, including:
Class I clinical equipment (exam chairs, autoclaves, smoke evacuators, microscopes, etc.)
Unlike OEM full service contracts, Amtech Preferred does not require clinics to pre-pay for repairs that may never occur. Instead, the program is designed to:
Reduce annual maintenance costs
Eliminate vendor juggling
Minimize downtime through free loaner equipment
Improve compliance through centralized service scheduling
The core idea is simple: We manage your equipment so you can manage your patients.
Case Study: A Large Multi-Site Dermatology Group
A major private-equity backed dermatology group operating over 100 clinics nationwide approached Amtech with a growing operational challenge. As they expanded, the cost and complexity of managing equipment service had ballooned.
Before Amtech Preferred
The group faced:
Dozens of vendors across office locations
OEM laser service contracts costing $30,000+ per device, per year
Unpredictable repair invoices
Lost revenue during equipment downtime
Internal staff time spent coordinating maintenance and tracking compliance
What began as manageable at 4–5 locations became unsustainable at 100+.
After Implementing Amtech Preferred
Amtech centralized service for all equipment categories across all locations and introduced:
Monthly billing for annual maintenance (predictable and budget-friendly)
Repairs billed only when needed (no prepayment for unused coverage)
Free loaner equipment delivered during repairs
Full asset tracking by serial number and maintenance schedule
A single point of contact for every piece of equipment
The Result: The dermatology group now spends an average of $15,000–$20,000 per office, per year compared to $50,000+ under traditional OEM contracts.
That’s a 60%–75% reduction in annual equipment service costs.
Across ~100 offices, this equates to over $1 million in annual savings—while reducing downtime and administrative burden.
The Problem With Full-Service OEM Contracts
For years, equipment manufacturers have promoted full-service contracts as the “safe” or “standard” option. These contracts often:
Require large annual fees up front
Charge for repairs whether they occur or not
Limit who can perform service on the equipment
Suggest that third-party service is unsafe or unauthorized
However, there is no federal or state regulation preventing certified, trained third-party service providers from performing maintenance or repairs.
OEMs use these contracts not because they are necessary—but because selling equipment creates one-time revenue, while service contracts create ongoing recurring revenue.
In other words, the model incentivizes profit over practicality.
This leads to inflated service pricing and a lack of competition—especially in dermatology and aesthetic medicine.
You should only pay for service you actually need.
You shouldn’t have to manage five vendors to keep your clinic operating.
Downtime should never mean lost revenue.
Trust and partnership are built through performance—not contracts.
The Amtech Preferred model reflects these values:
Traditional OEM Contract Model
Amtech Preferred Model
Pay in advance for hypothetical repairs
Pay only when repairs are needed
Forced full-service coverage
Flexible service across all equipment
No loaners (lost treatment revenue)
Free loaners to maintain uptime
Multiple service vendors required
One partner manages everything
High unpredictable annual cost
Predictable monthly maintenance billing
This is not just a different pricing structure — it is a different way of thinking about clinical operations.
How We Help Any Office, Anywhere
Amtech Medical services clients nationwide, ranging from:
Solo dermatology practices
Regional multi-clinic groups
Private equity roll-ups
Mohs & histopathology laboratories
Medical and aesthetic laser practices
Full-service dermatology and surgical centers
Whether your organization has 1 office or 150, the advantages are the same:
Lower annual service costs
Simpler vendor relationships
Less administrative burden
Minimal patient care interruptions
Longer equipment lifespan through proper maintenance
And most importantly:
Your clinic stays in control—never locked into an unnecessary contract.
Conclusion
The economics of equipment service in dermatology have shifted. OEMs are increasingly dependent on high-margin service contracts, and practices are paying for it—often without realizing there is a better alternative.
Amtech Preferred introduces a more rational, transparent, and clinically supportive approach.
We believe that:
Patient care should not be disrupted over a repair.
Clinics should not be forced into oversized contracts.
Cost efficiency and reliability can coexist.
Trust is earned through performance.
If your practice is ready to re-evaluate equipment service strategy, we would be glad to walk through your current setup and identify where cost savings and operational improvements can be made.
FAQ
Q1: Can third-party service companies legally work on medical lasers? Yes. There are no federal or state regulations requiring you to use the OEM for service. As long as technicians are trained, follow service manuals, and use approved parts, third-party service is fully compliant and legal.
Q2: Why are OEM laser service contracts so expensive? Manufacturers depend on service plans for recurring revenue. Selling equipment is a one-time sale, so service contracts are priced to deliver continuous income to the OEM—not based on the real cost of maintenance.
Q3: How does Amtech Preferred reduce equipment downtime? We deliver loaner equipment at the time of service, allowing clinics to continue treating patients while repairs are completed. This prevents lost revenue and scheduling disruption.
Q4: What types of practices can use Amtech Preferred? Single offices, multi-location groups, private dermatology networks, Mohs labs, and aesthetic practices. The program scales to fit any size clinic.
The Sakura TEC 5 Embedding Center is a trusted piece of histology lab equipment used to embed tissue specimens in paraffin before sectioning. Like any lab instrument, it requires proper care and maintenance to perform reliably day after day. When things go wrong, however, a few issues tend to appear more often than others.
To help labs troubleshoot quickly, we spoke with Daniel Silva, a biomedical equipment technician, about the most common problems he sees with the Sakura TEC 5—and how to fix them.
1. The Cold Plate Stops Cooling
Symptom: The cold plate no longer cools or doesn’t reach the expected low temperature.
Most Likely Causes:
Failed cooling fan: A small fan on the back of the unit moves air across the thermoelectric (Peltier) cooler. When that fan fails, there’s no airflow, and the plate can’t dissipate heat.
Leak or blockage in paraffin lines: Paraffin leaks can interfere with airflow or heat transfer inside the system.
Fix: Check the fan first—if it’s not spinning, replace it. The TEC 5 uses a Peltier cooling system rather than a refrigerant (no Freon), so airflow is critical. If the fan is functional, inspect the paraffin lines for leaks or buildup that could be disrupting cooling.
2. Line 1 Won’t Heat or Dispense Paraffin
Symptom: Everything else heats properly, but Line 1 stays cold and will not dispense paraffin.
Most Likely Cause: A failed heating element in Line 1. Each paraffin line has its own dedicated heating element, and Line 1 is statistically the one that fails most often.
Fix: Replace the heating element for that specific line. Because each line is independently wired, one can fail without affecting the others. A technician should verify voltage and continuity before replacement to confirm the fault.
3. The Valve Is Stuck or Clogged (No Dispensing or Continuous Flow)
Symptom:
The system heats normally, but nothing dispenses.
Or, the valve opens and won’t close, allowing paraffin to flow uncontrollably.
Most Likely Causes:
Dirty or reused paraffin: Recycled wax can carry debris that clogs or gums up the valve.
Contaminated paraffin buildup: Over time, unfiltered paraffin can solidify inside the valve mechanism.
Mechanical valve failure: Less common, but possible after heavy use.
Fix: Always use clean, fresh paraffin—never re-melt used wax. If clogging has already occurred, a technician will need to flush the lines and clean or replace the valve. This is not a user-serviceable task, as it requires specialized tools and heating procedures.
4. One Side of the Workstation Isn’t Heating
Symptom: Either the left or right working area remains cold while the opposite side heats correctly.
Most Likely Causes:
A blown fuse for that side’s heating circuit.
A failed heating mat or element under the work surface.
Fix: Each side of the TEC 5 has its own fuse and heating element. Check the fuse first—it’s located inline with the heating circuit. If the fuse is intact, the heating element itself may have failed and should be replaced. Both sides use the same design, so failure can occur on either side equally.
Preventive Tips for the Sakura TEC 5
Use only clean, laboratory-grade paraffin. Avoid reusing wax that’s been exposed to debris or tissue.
Keep airflow clear. Dust and wax buildup around the rear cooling fan can quickly cause overheating and cold-plate failure.
Schedule routine maintenance. Have a biomedical technician inspect fuses, fans, and heating elements annually.
Flush lines when contamination is suspected. Early cleaning prevents clogs that can lead to more costly valve replacements.
Final Thoughts
The Sakura TEC 5 Embedding Center is generally dependable, but like any high-use histology instrument, it benefits from consistent maintenance and a clean workflow. Most issues—from failed fans to clogged valves—can be prevented with regular inspection and proper paraffin handling. Keeping these basics in mind will minimize downtime and keep your lab running smoothly.
Frequently Asked Questions (FAQ)
1. What does the Sakura TEC 5 Embedding Center do?
The Sakura TEC 5 is a paraffin embedding system used in histology and pathology labs. It allows technicians to embed biological tissue samples in paraffin wax before microtomy, ensuring stable sections for microscopic analysis.
2. Why is my Sakura TEC 5 cold plate not cooling?
If the cold plate stops cooling, it’s most often due to a failed rear cooling fan or a paraffin leak that interferes with airflow. The Sakura TEC 5 uses a Peltier (thermoelectric) cooling system, so airflow is essential. Replacing the fan or fixing leaks usually resolves the issue.
3. What should I do if one of the paraffin lines isn’t dispensing?
If one of the lines—especially Line 1—doesn’t heat or dispense, the heating element for that line has likely failed. Each line has its own heating circuit, so replacing that individual element typically restores function.
4. How do I prevent clogging in the paraffin lines?
Avoid reusing paraffin, as it can introduce contaminants and debris that solidify inside the valve. Always use clean, fresh paraffin and schedule periodic professional maintenance to keep lines clear.
5. Can users flush the lines themselves?
No. Flushing paraffin lines requires specific tools and heat-control procedures. It should be performed by a qualified biomedical technician to avoid damage to the system or safety risks.
6. What maintenance should I perform regularly?
Wipe away excess wax daily.
Keep the rear fan area dust-free.
Use only clean paraffin.
Have a technician inspect fuses, fans, and heating elements annually.
Regular care prevents most of the common TEC 5 issues before they start.
Professional Service & Support for Sakura TEC 5 Embedding Centers
Even with the best care, equipment like the Sakura TEC 5 Embedding Center sometimes needs professional attention. That’s where our team comes in.
At Amtech Medical, we don’t just provide histology and dermatology equipment—we also offer diagnostic and repair services for embedding centers, cryostats, and other lab instruments. Whether your TEC 5 needs a fan replacement, heating element repair, or a full system inspection, our technicians can help you get back up and running quickly.
Our service options include:
On-site or depot repair for embedding centers
Preventive maintenance programs for lab equipment
Replacement parts for Sakura, Leica, and Thermo Fisher systems
Technical support and troubleshooting
We specialize in fast turnaround times and cost-effective repairs—so your lab can focus on what matters most: patient care and accuracy.
Microdermabrasion is a non-invasive exfoliation treatment that gently removes the outermost layer of dead skin cells to reveal fresher, smoother, and healthier-looking skin beneath. It’s one of the most popular treatments in medspas and dermatology clinics because it delivers visible results with minimal discomfort or downtime.
For professionals, a microdermabrasion machine is an essential tool that helps improve skin texture, even out tone, and enhance the absorption of skincare products.
How Microdermabrasion Machines Work
Microdermabrasion works by using either a diamond-tipped wand or crystal-based exfoliation system to resurface the skin.
Diamond-Tip Microdermabrasion: Uses a handpiece with a diamond-coated tip that gently abrades the skin’s surface while a built-in vacuum suctions away debris and dead cells.
Ideal for precision work and sensitive areas like around the eyes and mouth.
Easier to control and less messy than traditional crystal systems.
Crystal Microdermabrasion: Uses fine crystals (such as aluminum oxide or sodium bicarbonate) that are sprayed onto the skin at high velocity to exfoliate, while a vacuum removes them along with dead skin cells.
Effective for more intense exfoliation.
Suitable for thick or resilient skin types.
Both methods help stimulate cell turnover, boost collagen production, and improve circulation — leaving skin smoother, brighter, and more rejuvenated.
Benefits of Microdermabrasion Treatments
In a professional setting, microdermabrasion offers a range of benefits that appeal to a broad client base:
Diminishes fine lines and early wrinkles
Reduces acne scars and superficial pigmentation
Smooths uneven skin texture
Unclogs pores and removes blackheads
Enhances absorption of serums and moisturizers
Promotes overall radiance and firmness
Because the procedure is gentle and requires no downtime, it’s a perfect “lunchtime treatment” that clients can schedule regularly for lasting results.
What Professionals Need to Know
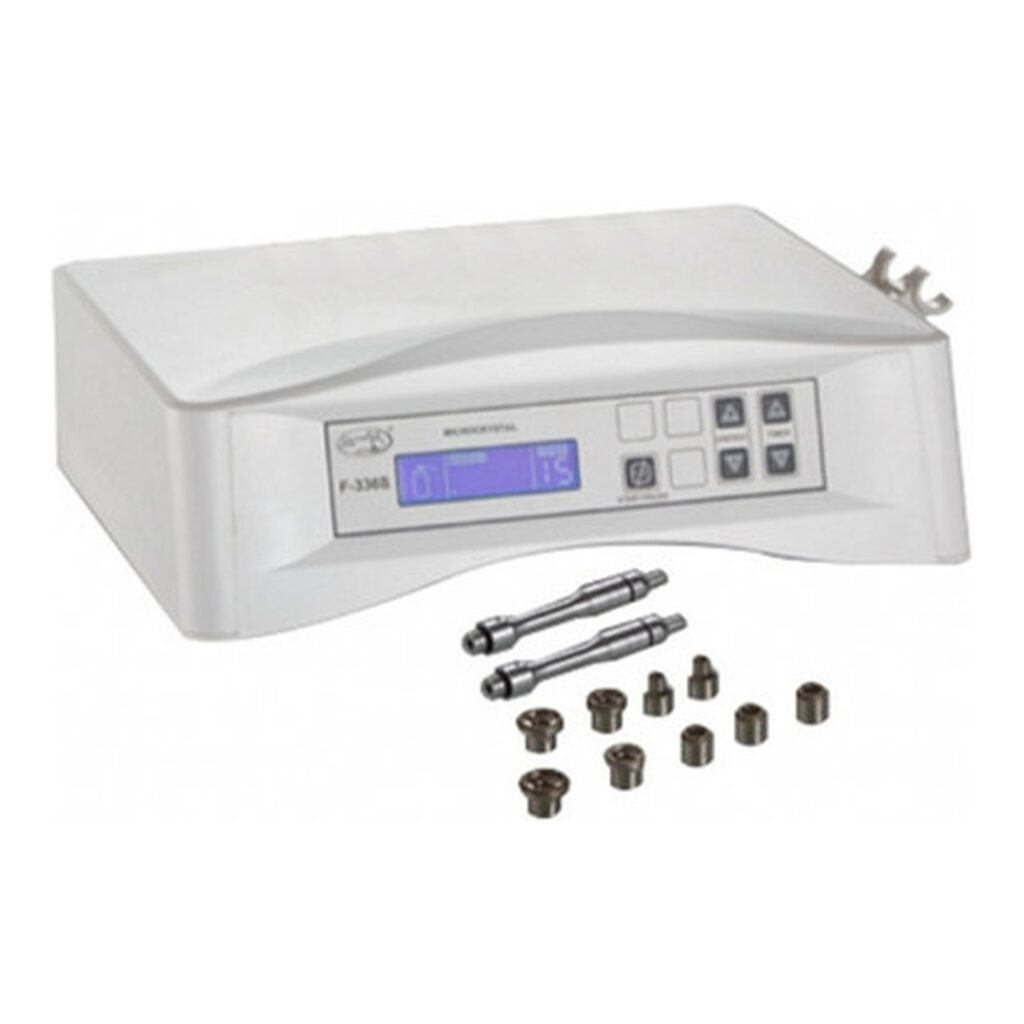
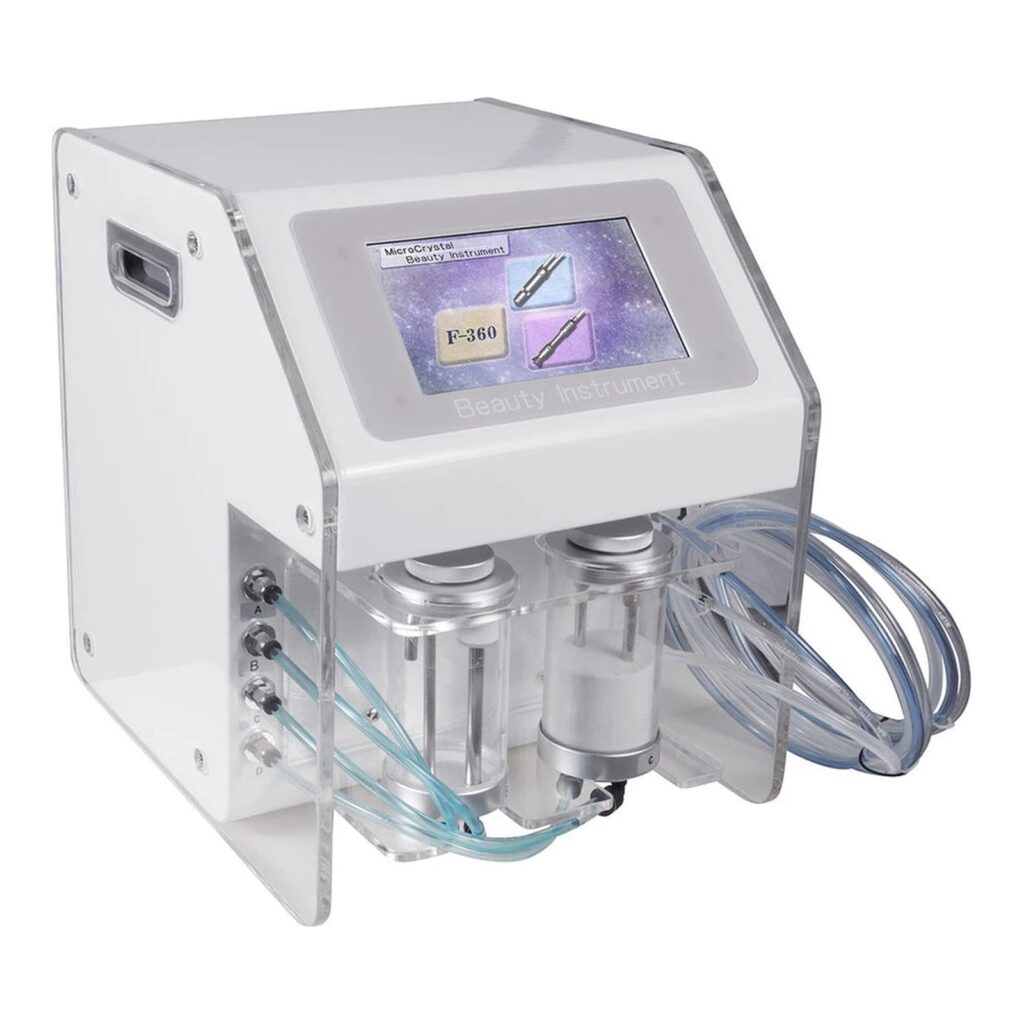
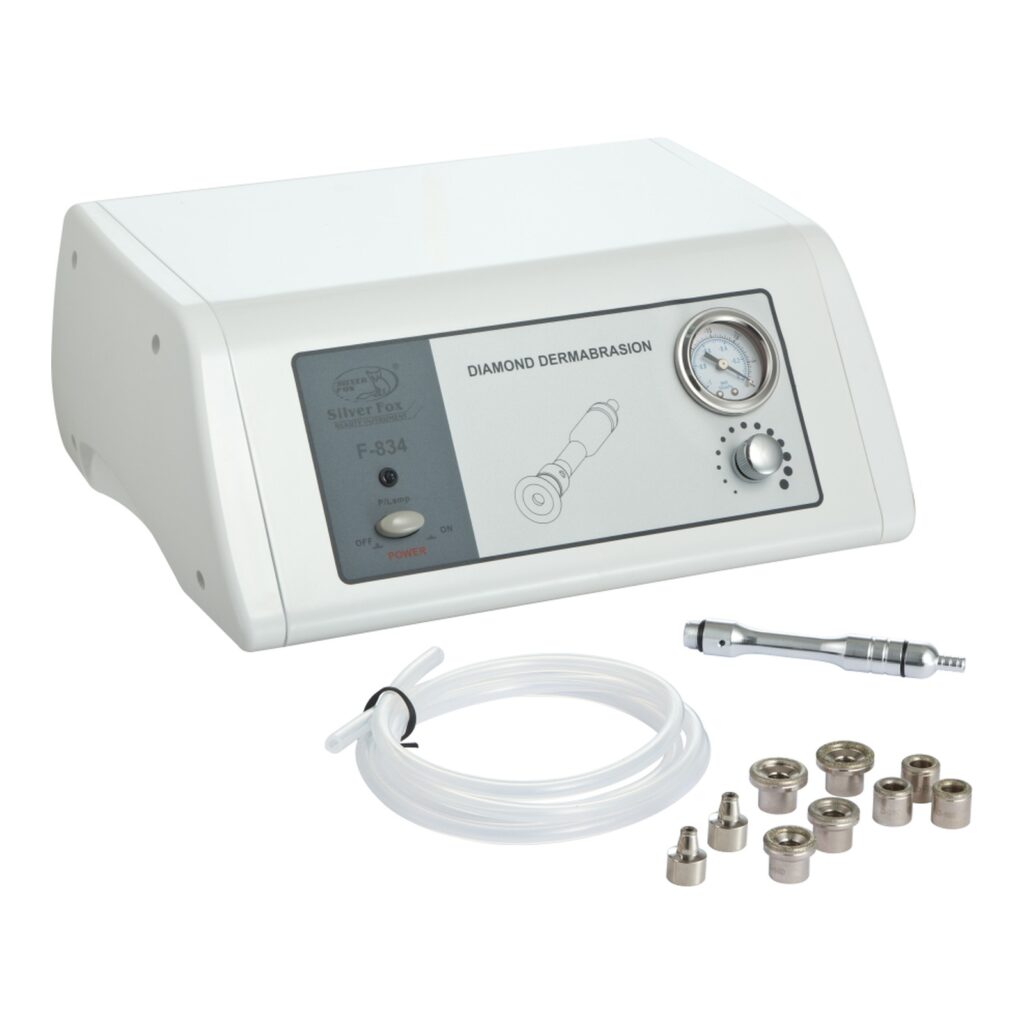
A professional-grade microdermabrasion system typically includes:
Main console with adjustable suction and intensity controls
Diamond or crystal handpiece with interchangeable tips
Tubing and filters for debris collection
Replacement tips or crystals for ongoing maintenance
When performing treatments:
Always begin with clean, dry skin.
Adjust suction based on skin type and sensitivity.
Use consistent passes with light pressure — never linger on one spot.
Follow with hydrating or soothing skincare products.
Treatment Frequency and Aftercare
For best results, clients often begin with a series of 6–8 sessions spaced 1–2 weeks apart, followed by monthly maintenance treatments.
After each session, clients should:
Avoid direct sun exposure and exfoliating products for 48 hours.
Apply gentle, non-comedogenic moisturizer.
Use SPF daily to protect newly exposed skin.
Safety and Contraindications
Microdermabrasion is safe for most clients when performed correctly. However, it should be avoided on those with:
Active acne or rosacea flare-ups
Open wounds or skin infections
Recent chemical peels or laser treatments
Extremely thin or fragile skin
Following proper sanitation and equipment maintenance protocols ensures safe, consistent performance in any medspa environment.
Why Every Medspa Needs a Microdermabrasion Machine
Microdermabrasion continues to be one of the most in-demand treatments in professional skincare. It offers immediate visual improvement, minimal recovery time, and proven long-term benefits — making it an excellent investment for any medspa or skincare clinic.
Adding this service enhances your treatment menu, boosts client satisfaction, and positions your business as a provider of modern, results-driven skin rejuvenation.
Included in the Package (Example Setup)
A typical professional microdermabrasion system includes:
Main control unit with suction and flow settings
Diamond or crystal handpiece
Interchangeable exfoliation tips or crystal canisters
High-frequency therapy is a cornerstone of professional skincare, trusted by estheticians and medspa professionals for decades. This treatment uses a specialized device to deliver a gentle electrical current through a glass electrode, producing oxygen-enriched molecules that help cleanse, calm, and rejuvenate the skin.
For medspas and skincare clinics, high-frequency treatments are a versatile, results-driven addition to facials and post-extraction routines. They improve skin tone, promote healing, and enhance product absorption—all while remaining completely non-invasive.
Why it’s popular: High-frequency therapy delivers visible results with minimal discomfort or downtime, making it a go-to treatment in modern skincare practices.
How High-Frequency Machines Work
High-frequency systems operate by passing an alternating electrical current through a gas-filled glass electrode. This process creates a mild thermal effect and generates oxygen in the form of ozone, which provides antibacterial and healing benefits.
Mushroom electrodes
Designed for broad facial areas and overall skin treatment.
Spoon or bent electrodes
Ideal for smaller, targeted, or hard-to-reach areas.
Comb electrodes
Used for scalp treatments and hair stimulation.
Key Benefits of High-Frequency Therapy
Stimulates blood flow and lymphatic circulation
Boosts collagen and elastin production
Kills acne-causing bacteria
Accelerates healing after extractions
Improves overall skin vitality and tone
Clinical insight: The combination of oxygenation, mild heat, and electrical stimulation makes high-frequency therapy highly effective for both acne treatment and skin rejuvenation.
Common Professional Applications
In a medspa or clinical skincare setting, high-frequency therapy is widely used across multiple treatment types due to its versatility and non-invasive nature.
Acne Treatment
Ozone generated during treatment helps eliminate acne-causing bacteria while reducing inflammation and redness.
Anti-Aging Facials
Stimulates cellular turnover, softens fine lines, and improves overall skin firmness and elasticity.
Post-Procedure Healing
Calms the skin and accelerates recovery following treatments like extractions or microdermabrasion.
Pro tip: High-frequency therapy pairs seamlessly with treatments like microdermabrasion, chemical peels, and LED therapy—enhancing overall results without adding downtime.
Argon vs. Neon: Choosing the Right Gas
Professional high-frequency machines typically use either argon or neon gas within the electrode. Each produces a different light frequency and is suited for specific skin conditions.
Argon (Blue/Violet Light)
Best for oily and acne-prone skin. Provides strong antibacterial effects and helps reduce active breakouts.
Neon (Red/Orange Light)
Ideal for mature, dry, or sensitive skin. Promotes circulation, collagen production, and overall skin rejuvenation.
Best practice: Multi-function systems with interchangeable electrodes allow providers to treat a wider range of skin types—making them a smart investment for growing medspas.
Safety and Maintenance
When used correctly, high-frequency therapy is safe, effective, and well-tolerated by most clients. However, proper protocols should always be followed.
Avoid use on clients with pacemakers, metal implants, or epilepsy
Disinfect electrodes thoroughly between each client
Adjust intensity settings based on skin type and treatment goals
Maintenance matters:
Routine care and proper device handling ensure consistent performance, safe treatments, and long equipment lifespan—especially in high-volume medspa environments.
Why High-Frequency Equipment Matters in a Professional Setting
High-frequency technology delivers visible, immediate results with minimal discomfort and no downtime—making it a powerful tool in any professional skincare environment.
For medspas, dermatology clinics, and estheticians, it remains one of the most cost-effective and reliable additions to a facial or advanced treatment menu.
Enhances treatment results across multiple services
Improves client satisfaction with immediate skin benefits
Expands service offerings without major capital investment
Supports a results-driven, evidence-based skincare approach
Bottom line: High-frequency machines are a low-cost, high-impact upgrade that can significantly elevate both treatment quality and client experience.
Included in the Package (Example Setup)
A standard professional high-frequency system typically includes the following components:
Main control unit
Multiple glass electrodes (mushroom, bent, comb, and spoon types)
Instruction manual or training guide
Power cord and protective packaging
Note: Included components may vary by manufacturer and model, but most professional systems are designed to support a wide range of treatments out of the box.
Looking for a Professional High-Frequency Machine?
Upgrade your treatment offerings with a reliable, professional-grade system designed for medspas and skincare clinics. The F-806 Professional High Frequency Machine delivers consistent performance, versatile electrode options, and excellent value.
High-frequency therapy improves skin health by increasing circulation, boosting collagen production, and eliminating acne-causing bacteria. It is commonly used to treat acne, fine lines, redness, and even support scalp rejuvenation for hair growth.
2. Is high-frequency treatment safe for all skin types?
Yes, it is safe for most skin types when used properly. However, it should be avoided for clients with pacemakers, metal implants, epilepsy, severe rosacea, or active cystic acne. Always follow manufacturer guidelines and perform patch testing when needed.
3. How often can clients receive high-frequency facials?
Treatments can typically be performed once or twice per week during initial care, then reduced to monthly sessions for maintenance. Frequency should be tailored to the client’s skin condition and goals.
4. What’s the difference between argon and neon high-frequency electrodes?
Argon electrodes (blue/violet light) are best for oily or acne-prone skin due to their antibacterial properties. Neon electrodes (red/orange light) are ideal for dry or mature skin, helping stimulate circulation and collagen production.
5. Can high-frequency therapy be combined with other treatments?
Yes. High-frequency therapy pairs well with microdermabrasion, chemical peels, and LED treatments. These combinations enhance results by improving product absorption and supporting faster healing.
6. What equipment is included in a professional high-frequency system?
A standard system typically includes:
Main control unit
Multiple glass electrodes (mushroom, bent, comb, and spoon)
Power cord and instruction manual
Optional storage case or protective packaging
7. How do I clean and maintain high-frequency electrodes?
After each use, clean electrodes with 70% isopropyl alcohol and allow them to air dry completely. Regular inspection and careful handling help prevent cracks and extend equipment lifespan.
Pro tip: Consistent cleaning and proper usage not only ensure client safety but also maximize the performance and longevity of your high-frequency device.
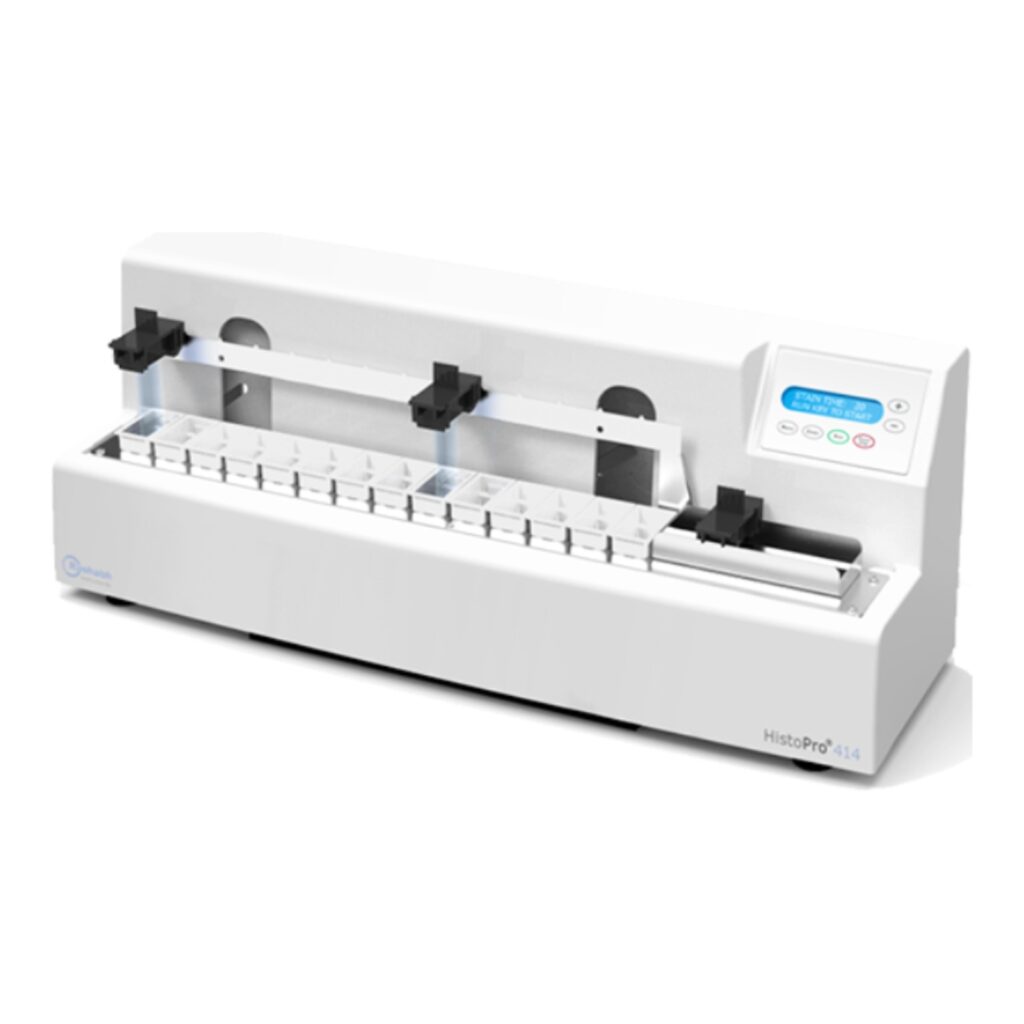
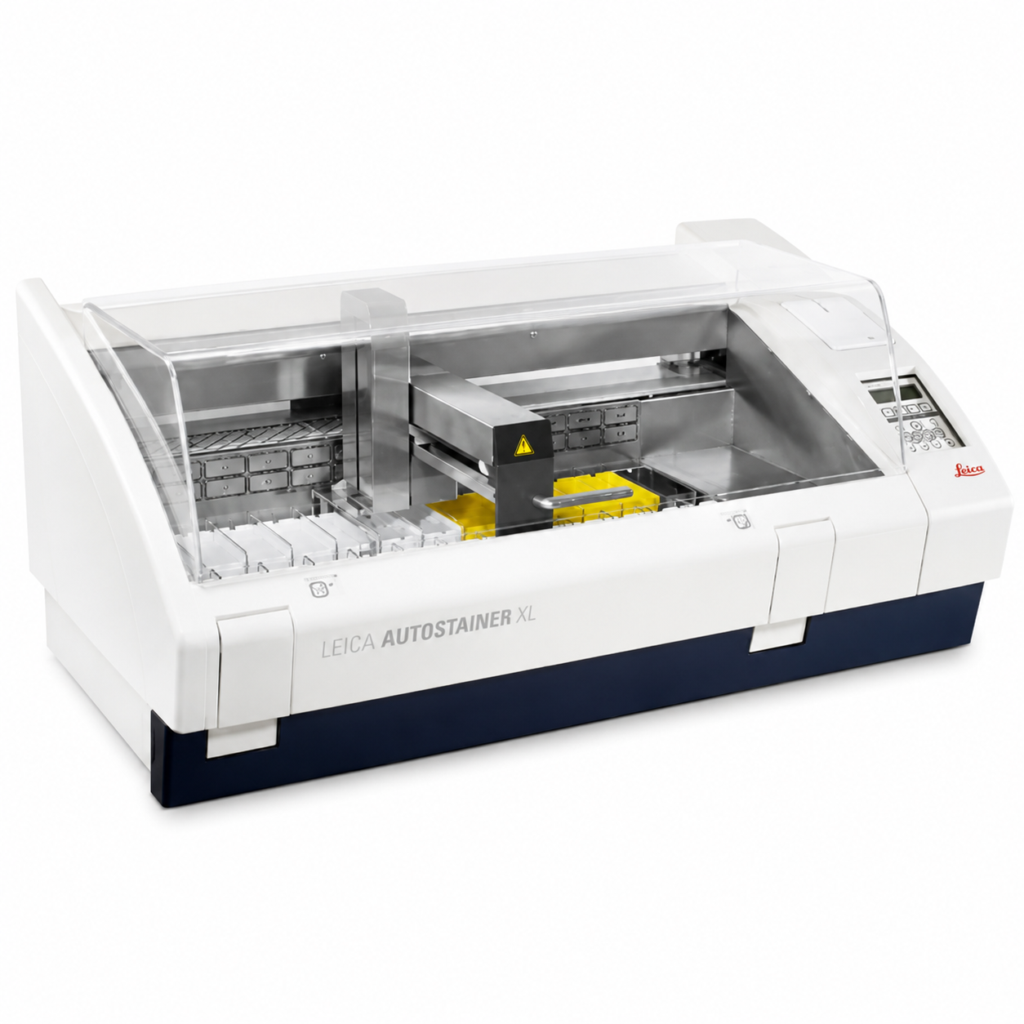
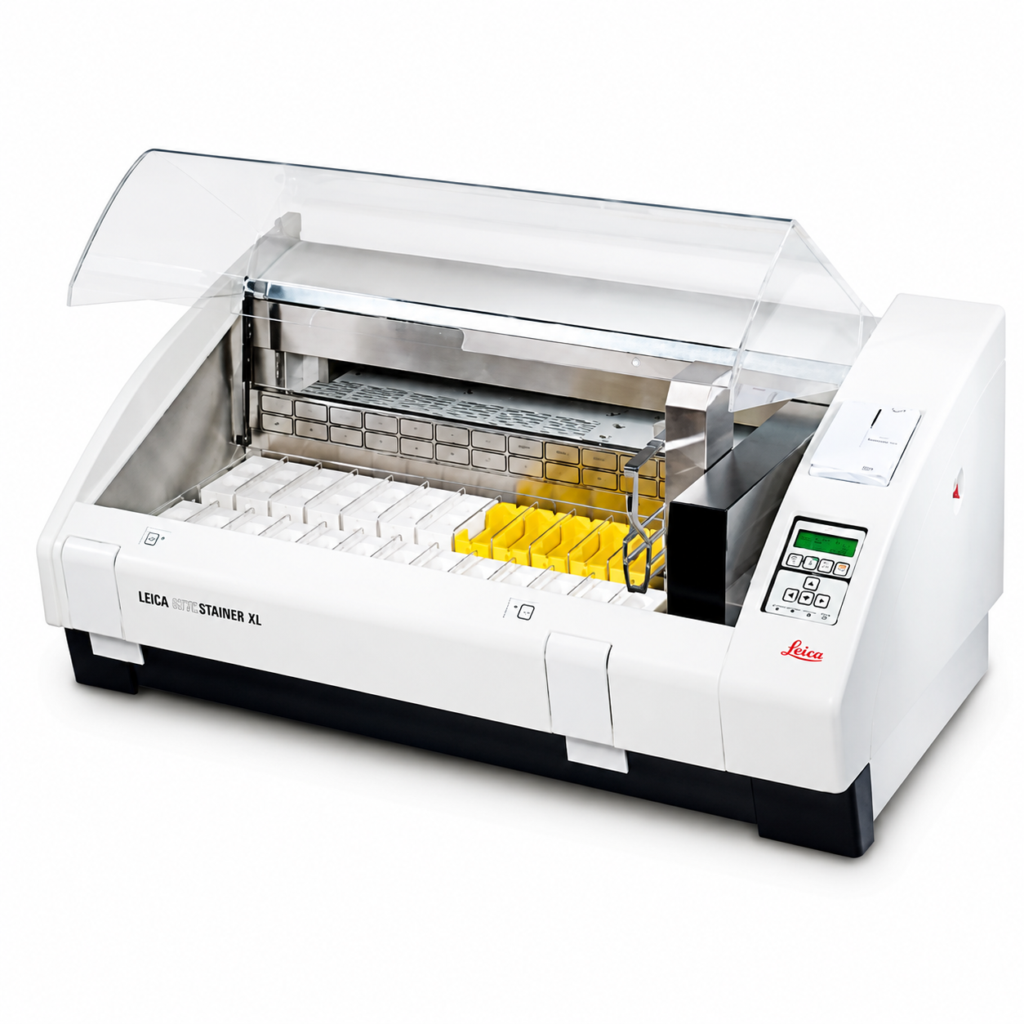
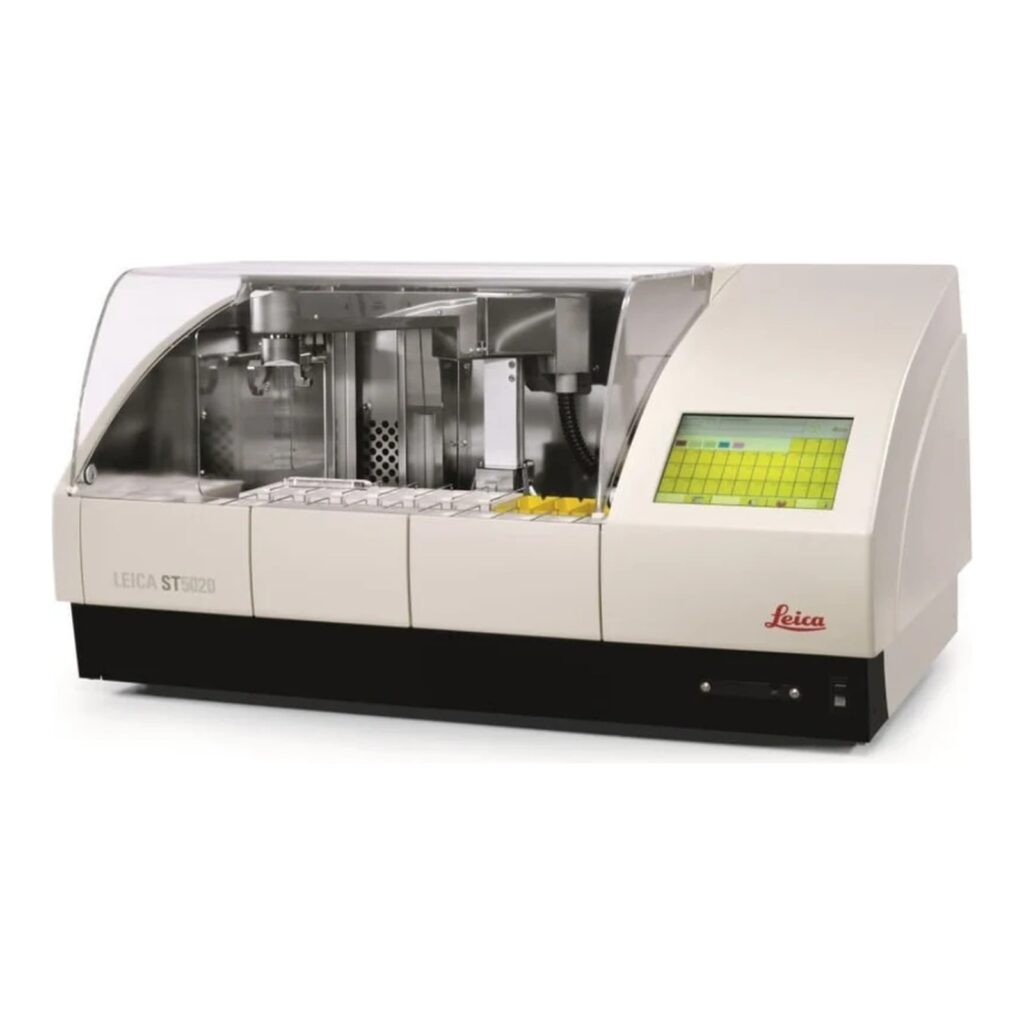
In every histology or dermatology lab, preparing tissue slides is only part of the job — staining them properly is what brings the science to life. The slide stainer is one of the most crucial instruments in this process, ensuring that each sample reveals the cellular detail needed for accurate diagnosis.
Whether you’re new to lab work or looking to understand how staining fits into the tissue preparation workflow, this guide will walk you through everything you need to know about slide stainers — what they are, how they work, and why they matter.
What Is a Slide Stainer?
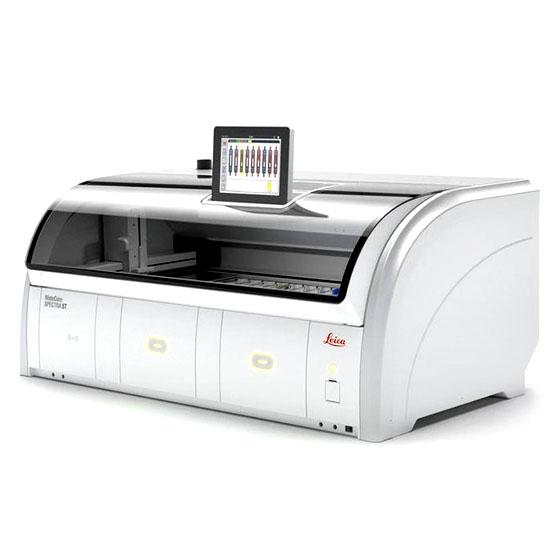
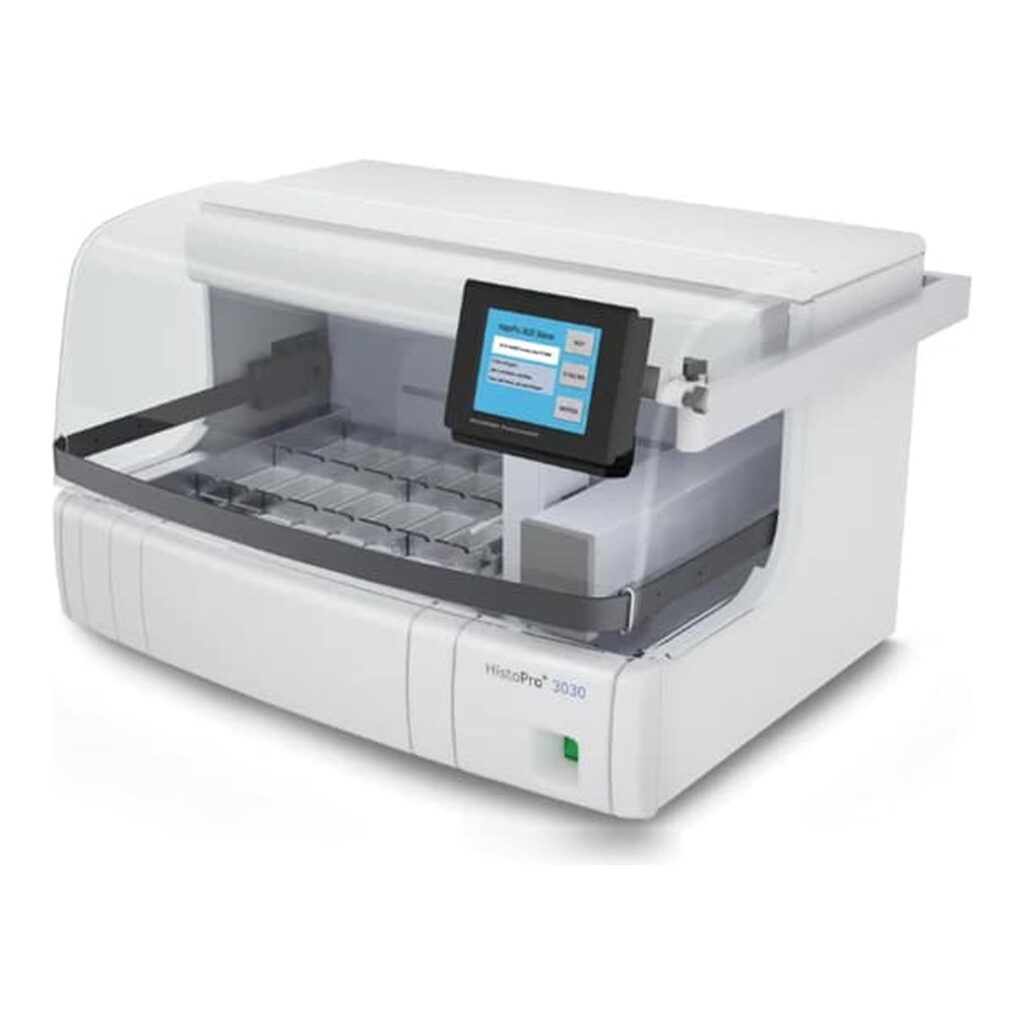
A slide stainer is a laboratory instrument designed to automate the process of applying dyes and reagents to prepared tissue sections. Staining enhances contrast within biological tissue, allowing microscopic structures like nuclei, cytoplasm, and connective tissue to be seen clearly.
While manual staining can be done with forceps and jars of dye, slide stainers bring precision, repeatability, and efficiency — especially in high-volume labs.
Why Slide Staining Is Important
Without proper staining, even the thinnest tissue section looks like a translucent sheet under the microscope. Stains bind to specific cellular components, highlighting the features that pathologists rely on for diagnosis.
For example:
Hematoxylin stains nuclei a deep blue or purple.
Eosin colors the cytoplasm and connective tissues pink.
Special stains (PAS, Trichrome, Gram, etc.) highlight specific tissue structures or microorganisms.
Automated stainers ensure consistent application, timing, and rinsing for each slide — eliminating variability between technicians and improving diagnostic accuracy.
How Slide Stainers Work
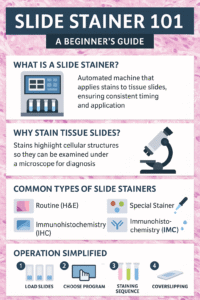
Though models differ, most stainers follow a similar step-by-step sequence:
Load the Slides: Technicians place racks of prepared slides onto the machine.
Select the Program: Choose a protocol — H&E (Hematoxylin & Eosin), special stain, or immunohistochemical (IHC) sequence.
Reagent Dispensing: The machine automatically applies dyes, buffers, and rinses in the proper order and timing.
Rinsing and Drying: Between each reagent, the slides are rinsed or dipped to prevent cross-contamination.
Coverslipping (Optional): Some systems integrate a coverslipper to seal the stained tissue under a protective glass cover.
Each program can include dozens of steps, but automation ensures perfect timing and reagent consistency every time.
Types of Slide Stainers
1. Routine (H&E) Slide Stainers
Hematoxylin and Eosin (H&E) staining is the foundation of histology. Nearly every biopsy, surgical specimen, or dermatology tissue sample goes through this two-dye process.
Routine H&E stainers are built for efficiency and repeatability. They’re designed to handle large volumes of slides quickly — sometimes hundreds per hour — while maintaining uniform staining quality across every batch.
These systems typically feature:
Pre-programmed H&E protocols with customizable timing
Automated reagent exchanges for clean, consistent results
Drying stations and coverslipping modules (in advanced models)
Because H&E is the most frequently performed stain in any pathology or dermatology lab, these stainers are considered essential equipment.
Common users: Hospital pathology departments, dermatology labs, and academic teaching facilities.
2. Special Stainers
While routine stains are used for general tissue architecture, special stains highlight specific structures or chemical components within cells and tissues. These tests help pathologists identify diseases, infections, and metabolic abnormalities that wouldn’t show up with H&E alone.
Special stainers are often capable of running dozens of stain protocols such as:
Periodic Acid–Schiff (PAS) for glycogen and fungal elements
Ziehl-Neelsen for acid-fast bacilli (e.g., tuberculosis)
Masson’s Trichrome for muscle, collagen, and fibrosis
Gomori Methenamine Silver (GMS) for fungi and basement membranes
Gram Stain for bacterial identification
Automated special stainers save hours of manual handling and reduce reagent exposure. Because these stains often involve delicate chemical reactions, automation ensures the accuracy and reproducibility that manual methods can’t always achieve.
Common users: General pathology labs, infectious disease centers, and dermatopathology facilities diagnosing complex conditions.Used when testing for specific diseases or microorganisms. They can run stains such as Ziehl-Neelsen for TB, PAS for glycogen, or Gram stains for bacteria.
3. Immunohistochemistry (IHC) Stainers
These advanced systems apply antibodies and chromogens to identify proteins within tissue. IHC staining is crucial for cancer diagnosis and molecular pathology.
4. Manual and Semi-Automated Stainers
Smaller labs may still use manual or semi-automated systems. They are more affordable but require careful attention and timing from the operator.
Key Components of a Slide Stainer
Reagent Stations: Small containers that hold stains, buffers, and rinses.
Robotic Arm or Carousel: Moves slides from one station to the next automatically.
User Interface/Touchscreen: Where the operator selects staining protocols.
Drain and Waste System: Collects used reagents for disposal.
Drying and Cooling Section: Prepares slides for coverslipping or microscopy.
Safety and Maintenance
Like all lab instruments, slide stainers require routine care to stay reliable:
Clean reagent trays daily to prevent contamination.
Replace reagents regularly — especially alcohols, xylene, and stains that degrade over time.
Run system rinses at the end of the day.
Schedule preventive maintenance every 6–12 months for calibration and seal replacement.
Most modern systems have sensors to alert users to low reagent levels or blocked lines, minimizing errors before they affect results.
What Beginners Should Know Before Operating a Slide Stainer
If you’re new to the histology lab, here are the basics to keep in mind:
Always verify the staining protocol before running a batch — small errors can ruin dozens of slides.
Label slides clearly to prevent mix-ups.
Keep reagents capped to avoid evaporation and contamination.
Never skip the cleaning cycle; residue buildup can cause inconsistent staining.
Handle slides carefully after staining — fingerprints, smudges, or dust can obscure microscopic details.
Slide Stainers and Dermatology
In dermatology, slide stainers are used in both Mohs surgery and routine histopathology. Rapid turnaround is critical in Mohs labs, where pathologists need immediate results to determine if all cancerous tissue has been removed. Automated stainers make that possible by completing high-quality stains in minutes rather than hours.
Final Thoughts
Slide stainers are the bridge between tissue preparation and microscopic diagnosis. For beginners, understanding how they function — and how they fit into the larger histology workflow — is the first step to mastering the art and science of histological staining.
Automation, precision, and proper care are what keep these systems producing beautiful, diagnostic-quality slides day after day.
In the world of histology, precision is everything. Whether you’re preparing tissue samples for dermatology, pathology, or research, each step determines the quality of the final slide — and ultimately, the accuracy of a diagnosis.
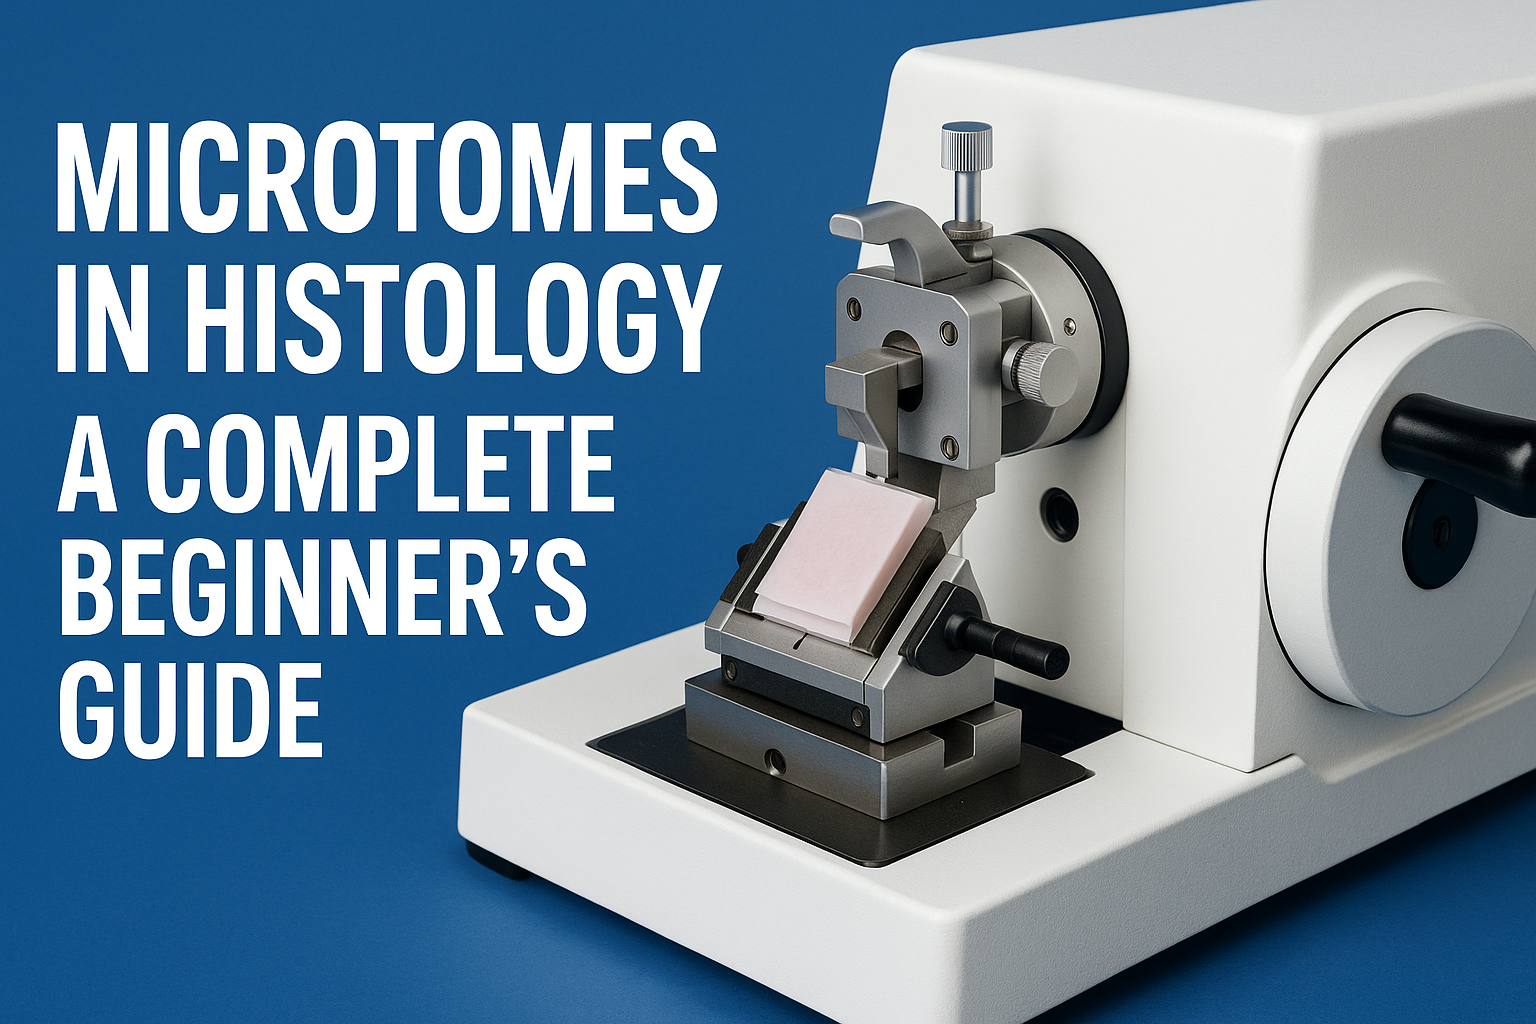
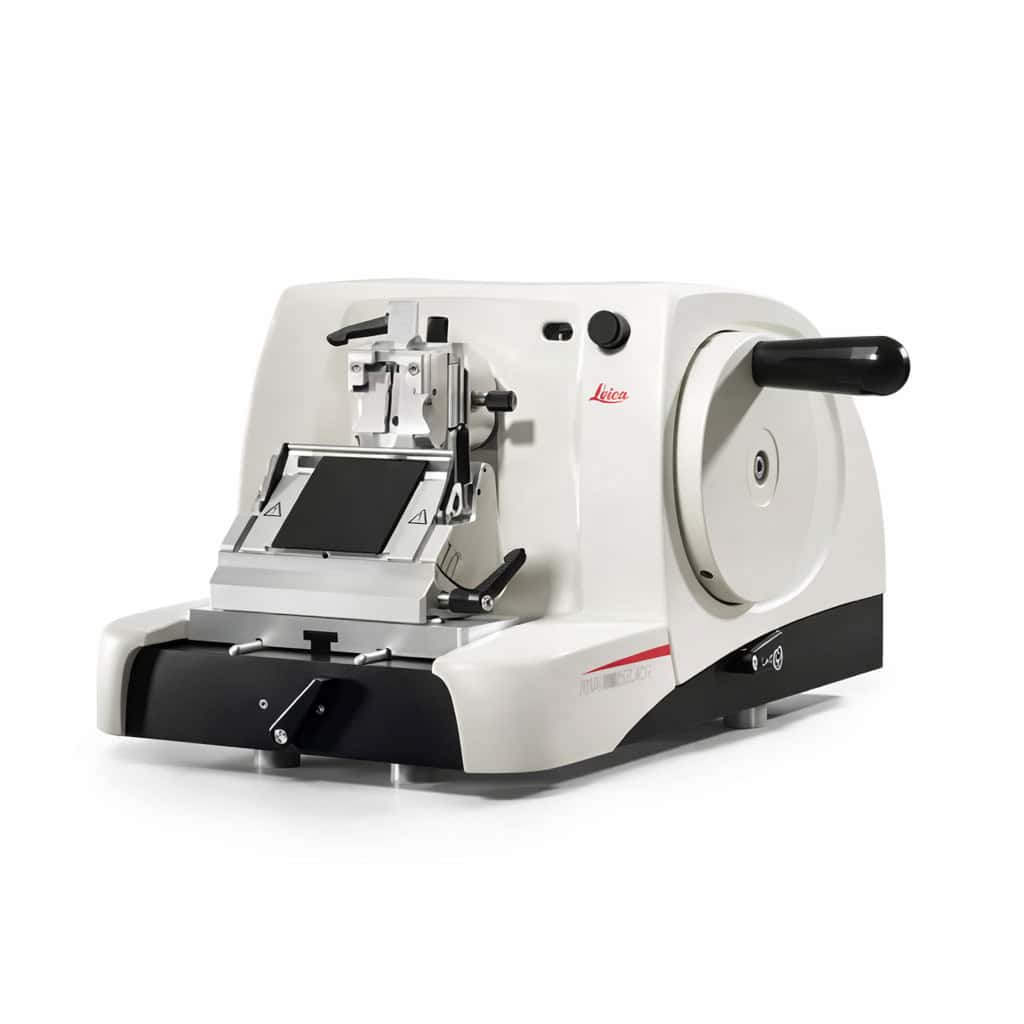
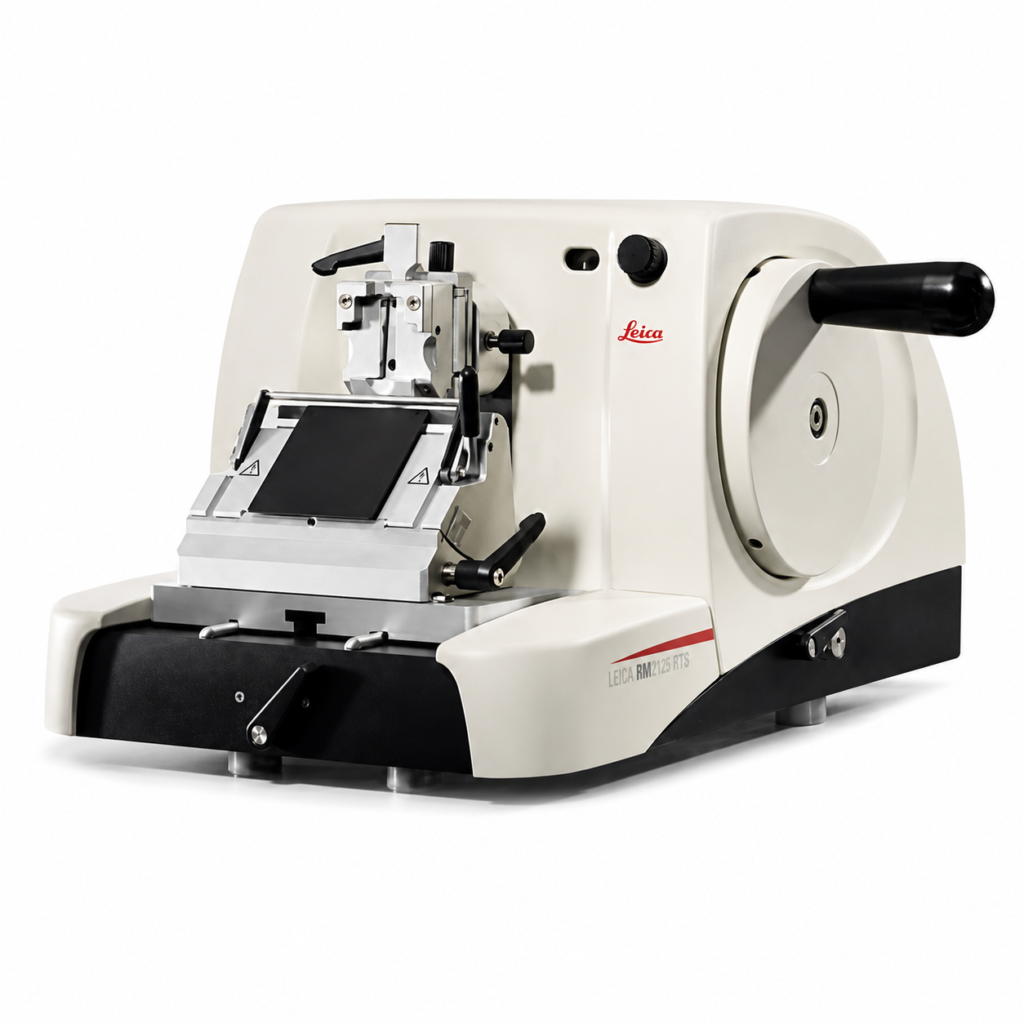
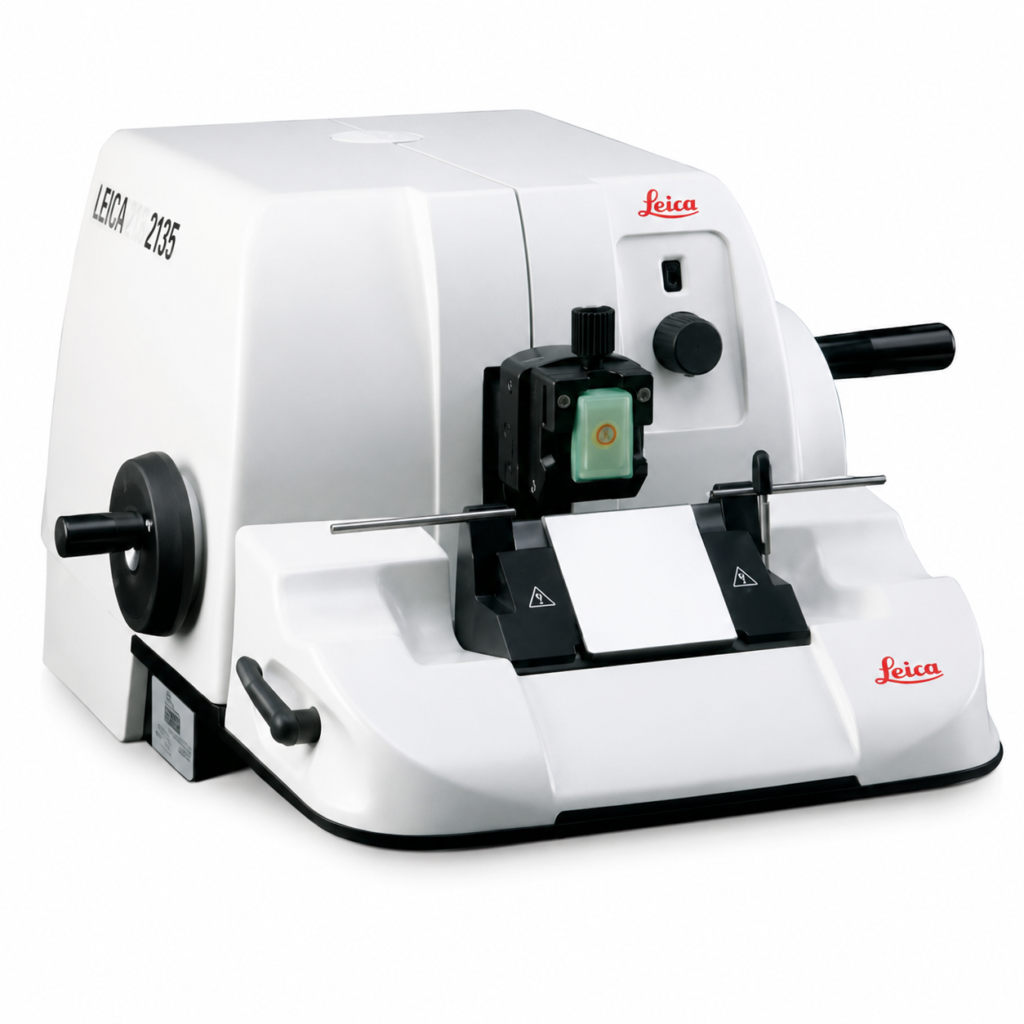
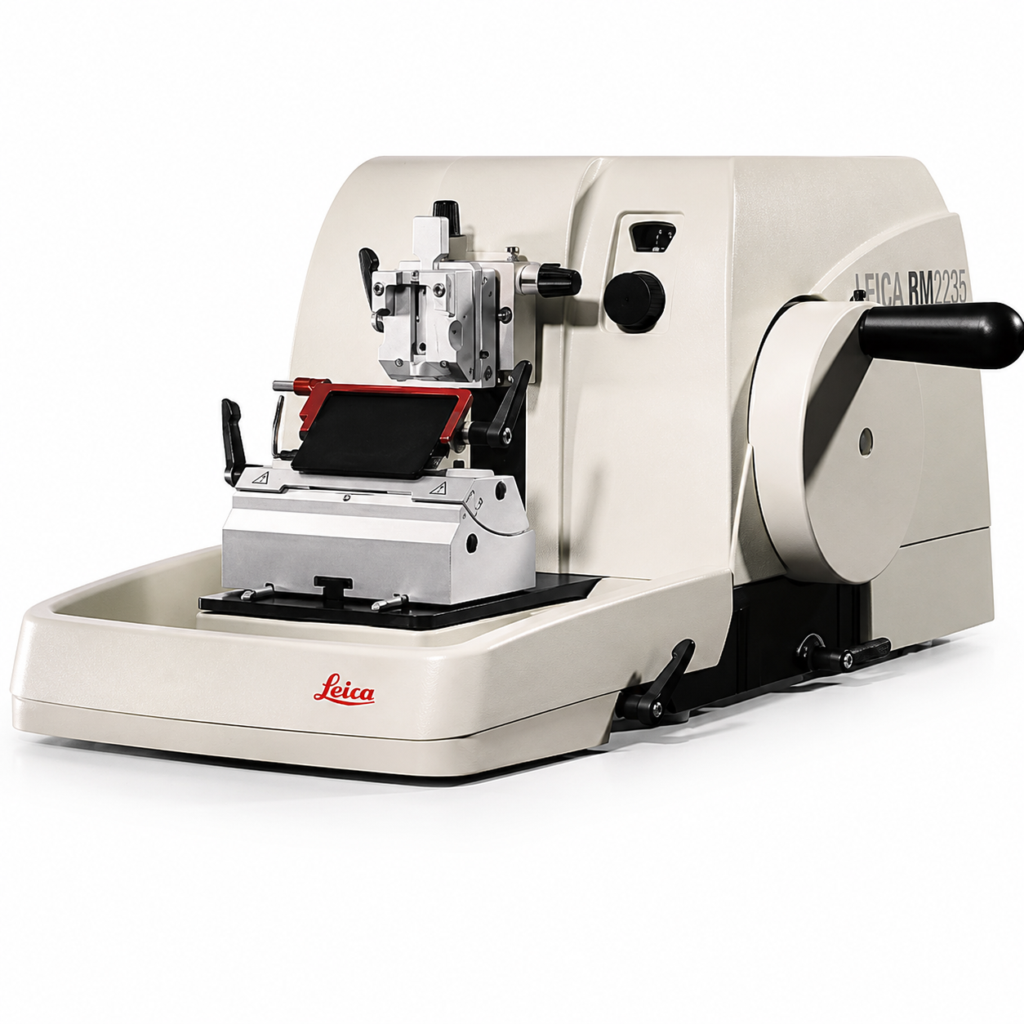
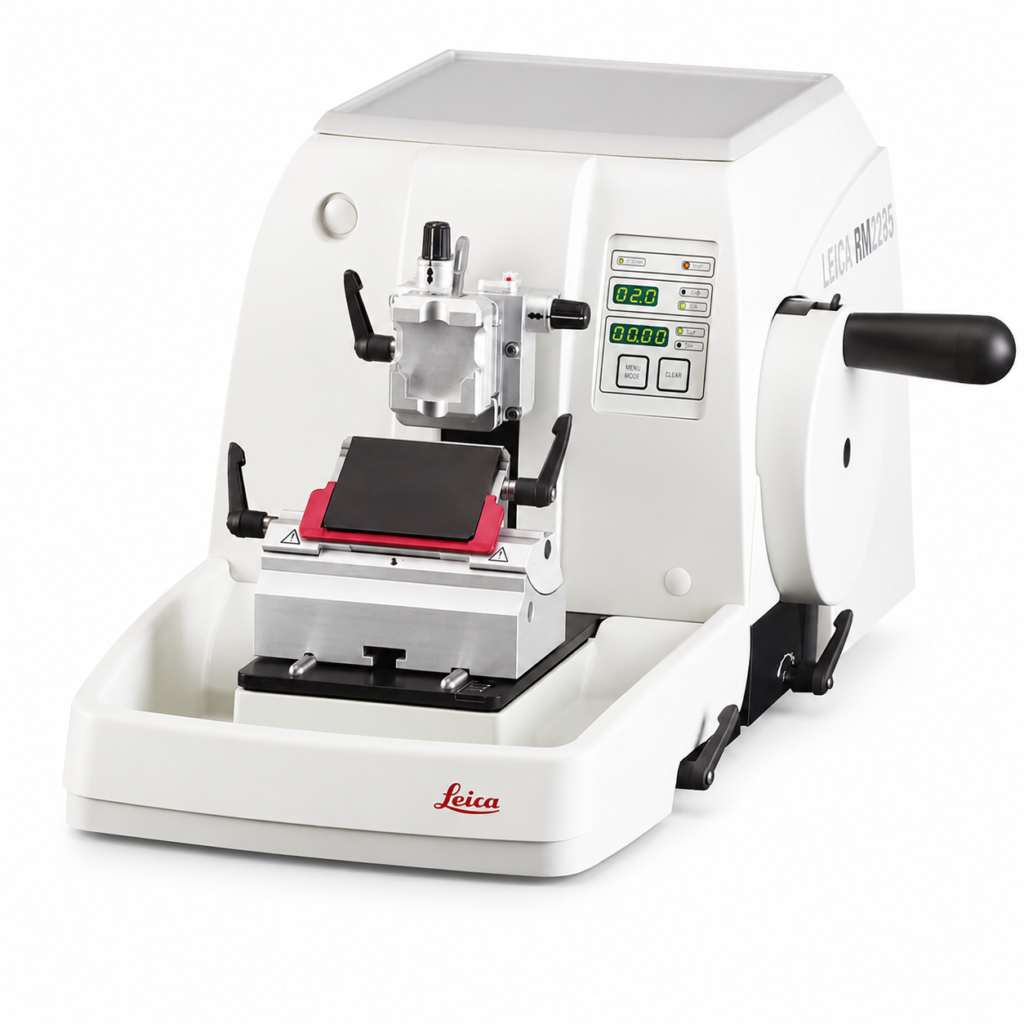
One of the most vital tools in this process is the microtome — a precision instrument designed to cut tissue sections so thin they’re nearly transparent. If you’ve ever seen a perfectly mounted tissue slide under a microscope, that accuracy begins right here.
This guide will walk you through the fundamentals of what a microtome is, how it works, and what beginners need to know before using one.
What Is a Microtome?
A microtome is a precision cutting instrument used to slice extremely thin sections of biological tissue for microscopic examination. The term comes from the Greek mikros (small) and temnein (to cut) — quite literally meaning “small cutter.”
Microtomes allow histotechnologists to cut sections as thin as 1–10 microns (one micron = one-thousandth of a millimeter). These thin slices can then be stained, mounted, and examined under a microscope for diagnostic or research purposes.
Without a properly functioning microtome, even the best-processed tissue cannot produce clear, usable slides.
Why Microtomes Are Essential in Dermatology and Histology
Tissue processing and embedding create a paraffin-wax block that preserves structure — but the microtome is what reveals that structure.
In dermatology and Mohs surgery labs, microtomes are critical for cutting skin samples to evaluate cancer margins. In general pathology, they’re used on every paraffin block that comes through the lab.
The microtome’s ability to make precise, repeatable cuts ensures:
Clear microscopic detail
Accurate cellular morphology
Consistent results between samples
Reduced waste from tearing or uneven sections
How a Microtome Works
Although there are different types of microtomes, they all share the same basic mechanism: a specimen block is advanced toward a razor-sharp blade, which shaves off a thin slice each time the handle or motorized wheel is turned.
Here’s the step-by-step process in simplified terms:
Mount the block: The paraffin-embedded tissue is clamped securely into the block holder.
Set the thickness: The operator adjusts the micrometer dial to select a section thickness (commonly 4–6 microns for most diagnostic slides).
Trim the block: Several thick sections are cut first to expose the full tissue surface.
Cut the sections: Once the surface is exposed, thin ribbons of tissue are cut. These ribbons curl into delicate waves, ready to be placed on a warm water bath for flattening.
Mount the sections: The smoothed sections are picked up on glass slides for staining and examination.
Types of Microtomes
Modern labs use different kinds of microtomes depending on their workflow and specimen type:
1. Rotary Microtome
The most common type in histology labs. It uses a rotating handwheel to move the tissue block up and down across a fixed blade. Known for precision, speed, and repeatability — perfect for paraffin-embedded samples.
2. Cryostat Microtome
Used inside a refrigerated cryostat chamber to cut frozen tissue sections. Ideal for Mohs surgery or situations where rapid results are needed (e.g., intraoperative diagnoses).
3. Sliding Microtome
Commonly used for large or hard samples such as brain tissue. The knife moves horizontally over the specimen block rather than the other way around.
4. Ultramicrotome
Used in electron microscopy to produce ultra-thin sections (less than 0.1 micron) for examining subcellular structures.
What a Beginner Should Know Before Using a Microtome
Operating a microtome safely and effectively requires training, attention, and care. Here are the essentials:
⚙️ 1. Blade Safety
Microtome blades are extremely sharp — sharper than surgical scalpels. Always handle them with forceps, use the blade guard when not cutting, and never reach near the knife edge with your hands.
🧊 2. Temperature Matters
If the block is too warm, tissue will compress or wrinkle. If it’s too cold, sections can shatter. A block cooling plate or freezer helps achieve the right consistency for clean, smooth ribbons.
🧴 3. Section Adhesion
To ensure sections stick properly to slides, use a water bath (around 40–45°C). The gentle heat flattens the ribbons before they’re transferred onto the glass.
🧹 4. Maintenance
Keep the instrument clean and well-lubricated. Regularly change blades, clean paraffin debris, and check for mechanical play in the block holder.
🧠 5. Common Beginner Mistakes
Cutting too fast, leading to uneven ribbons
Incorrect clearance angle between blade and block
Using dull or dirty blades
Skipping the trimming step before sectioning
Where Microtomes Are Used
You’ll find microtomes in nearly every lab that handles tissue specimens, including:
Dermatology labs – especially for Mohs micrographic surgery
Hospital pathology labs – for biopsy and surgical samples
Academic and research facilities – for teaching and cell studies
Veterinary pathology labs – for animal tissue analysis
Every histopathology lab, from small private practices to large medical centers, depends on them daily.
The Role of Microtomes in Diagnostic Accuracy
Ultimately, the quality of a tissue section can determine the accuracy of a diagnosis. A microtome that produces consistent, artifact-free sections helps pathologists see details such as cell boundaries, nuclei, and abnormal growth patterns.
In skin cancer diagnosis, for instance, poorly cut sections can obscure margins and lead to inaccurate results. That’s why both instrument quality and operator skill are equally important.
Final Thoughts
Microtomes are the workhorses of histology — quietly but critically shaping the foundation for every diagnostic slide. For beginners, understanding how they function, how to handle them safely, and what to look for during operation builds confidence and precision in the lab.
Whether you’re just starting your histology journey or training new staff, knowing the fundamentals of microtomy is an essential first step toward mastering tissue preparation.
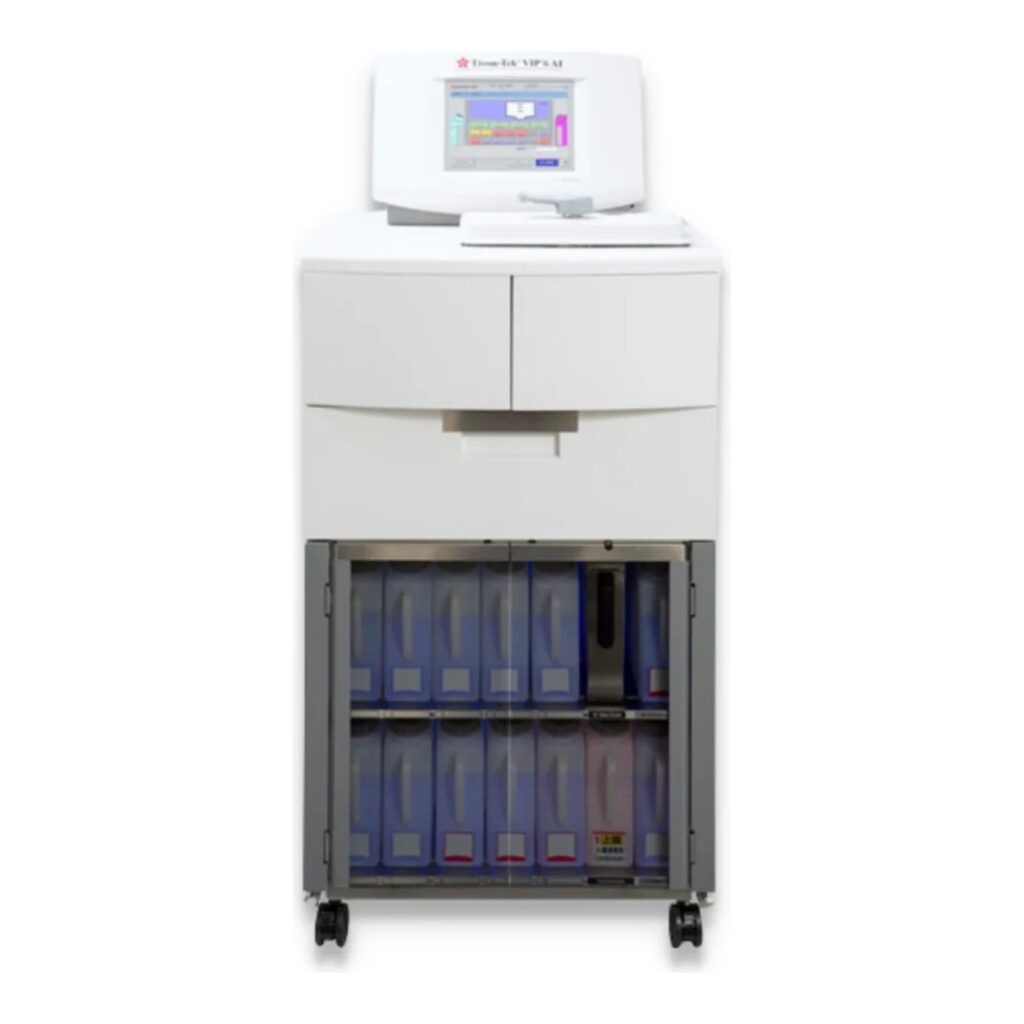
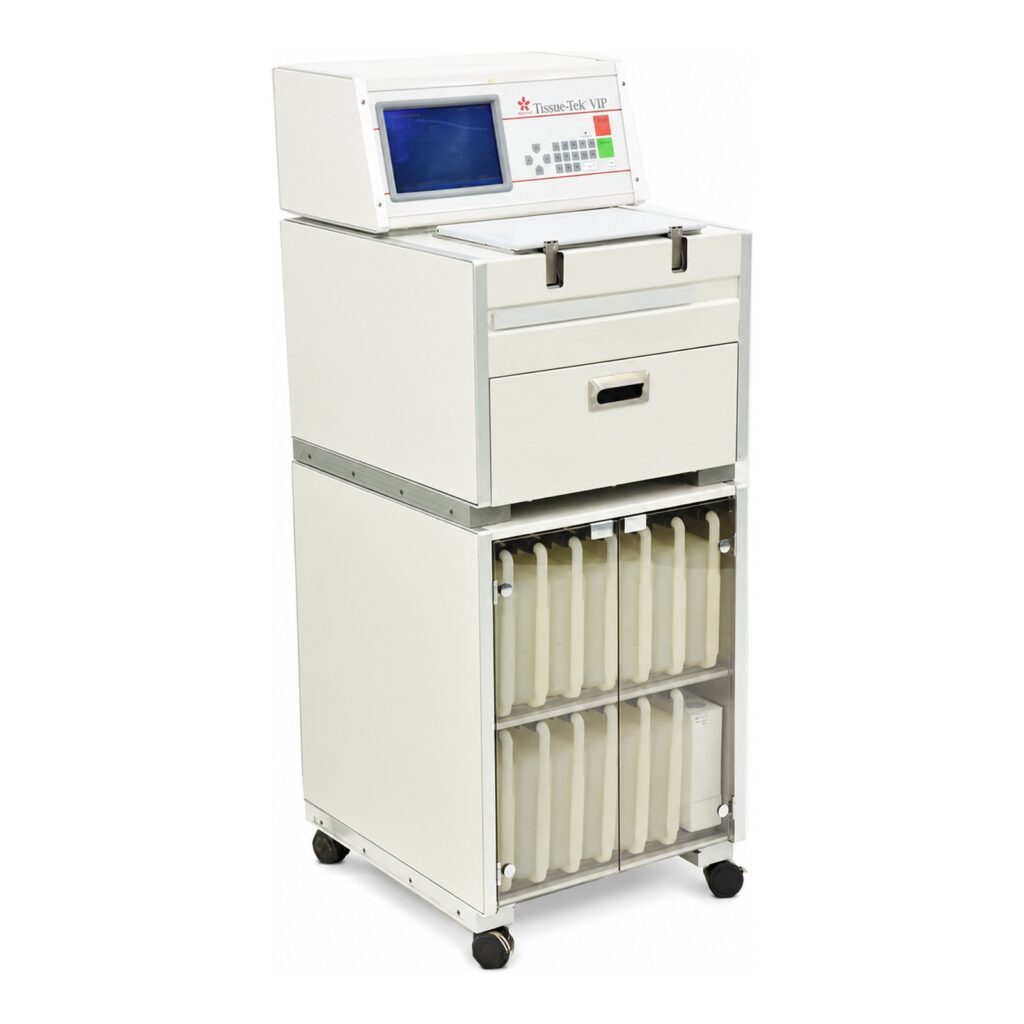
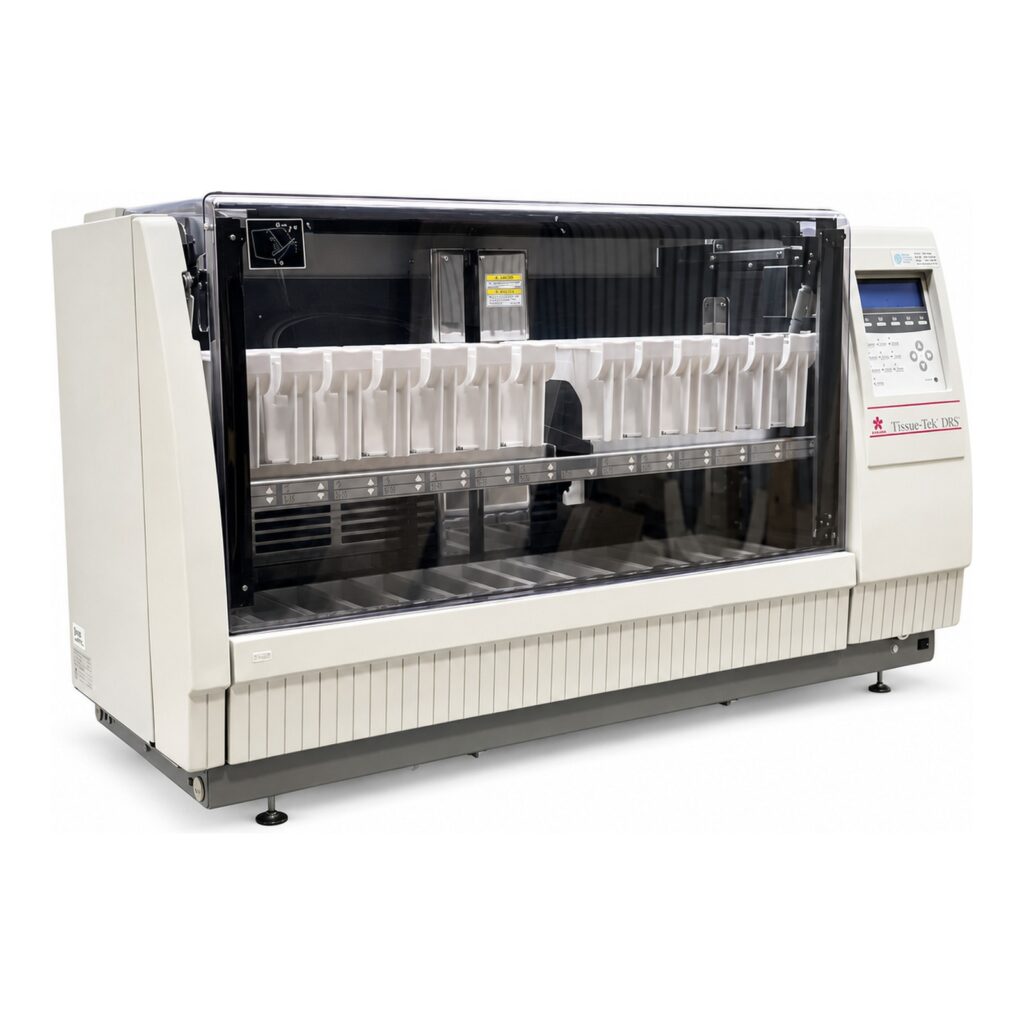
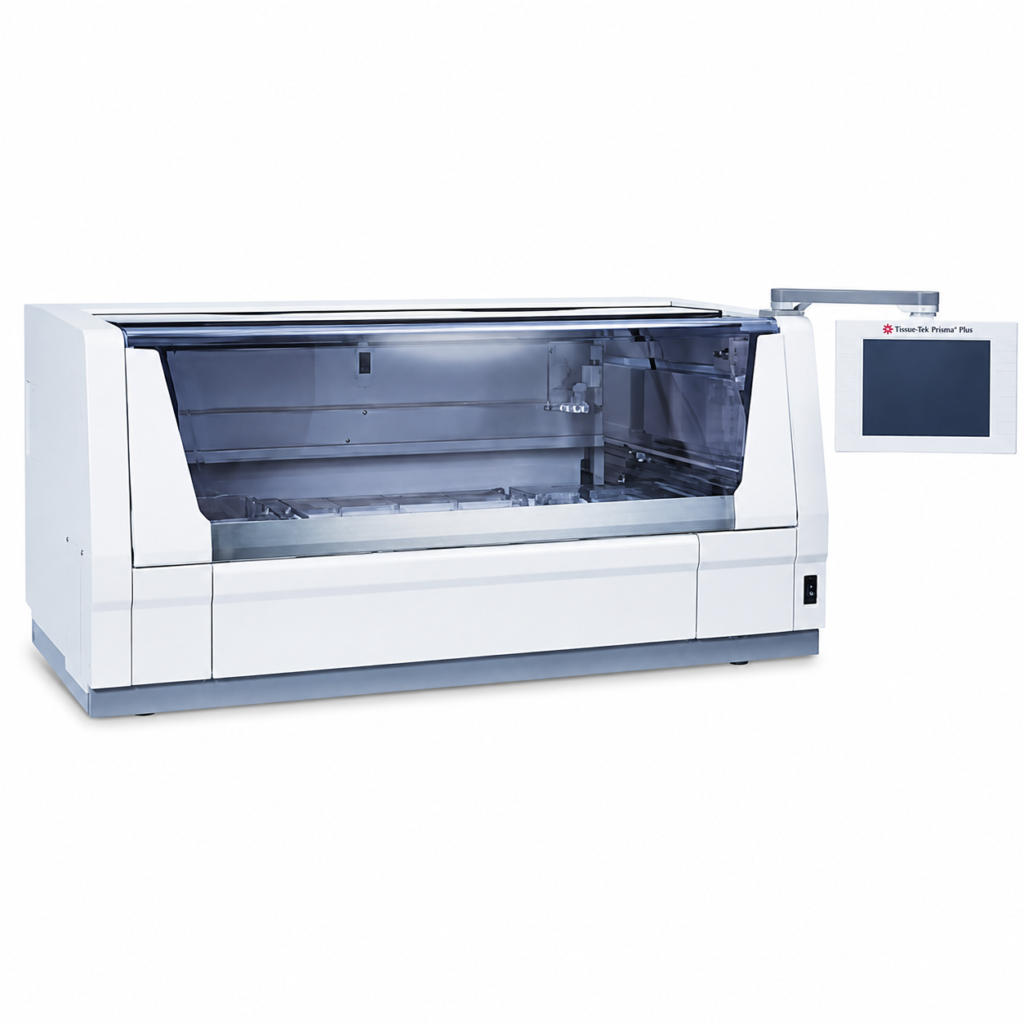
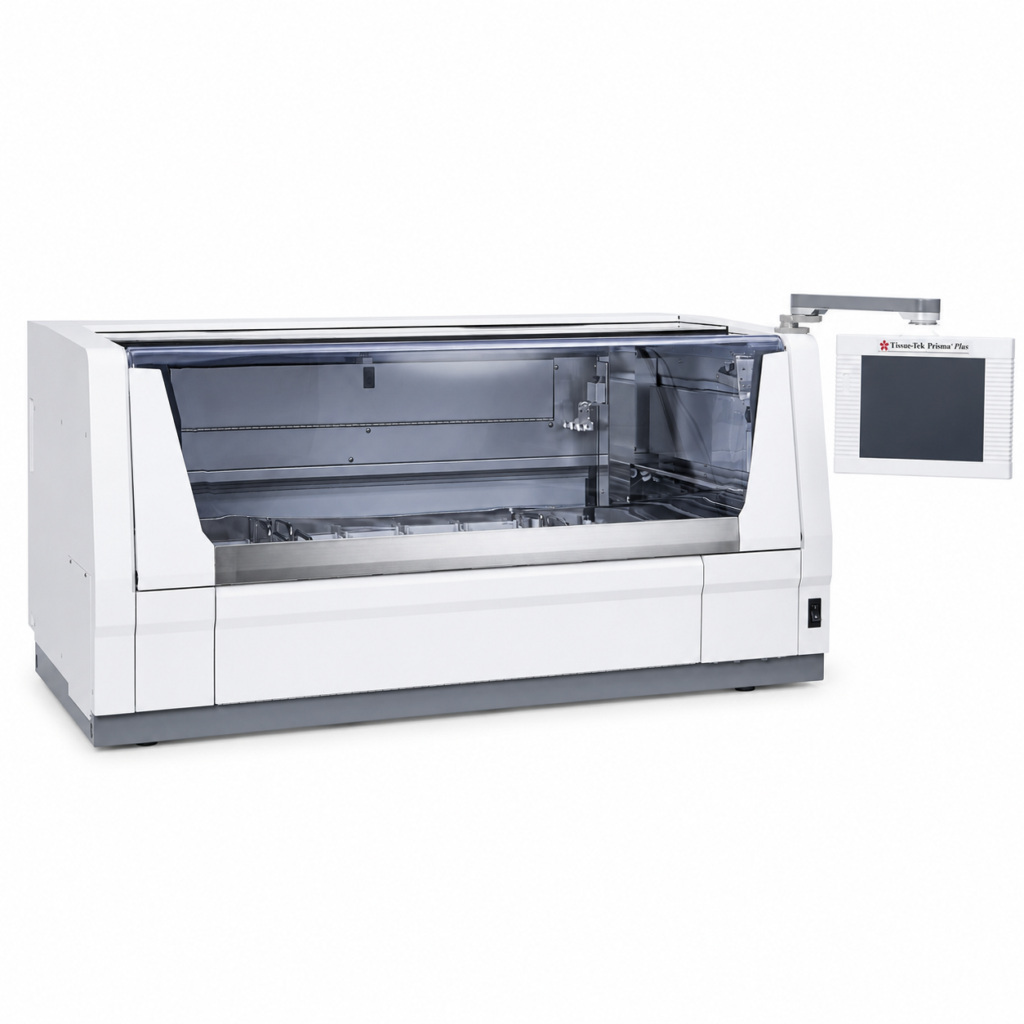
When it comes to histology, accuracy and efficiency in preparing tissue samples are everything. Before a sample can be embedded, sectioned, stained, and reviewed under a microscope, it has to be properly prepared so that its cellular structure is preserved and suitable for diagnosis. This is where the tissue processor becomes one of the most important pieces of equipment in any pathology or Mohs lab.
For those who are new to histology or laboratory work, understanding what a tissue processor is, how it works, and why it’s essential can be overwhelming. This beginner’s guide breaks everything down into clear, practical terms.
What Is a Tissue Processor?
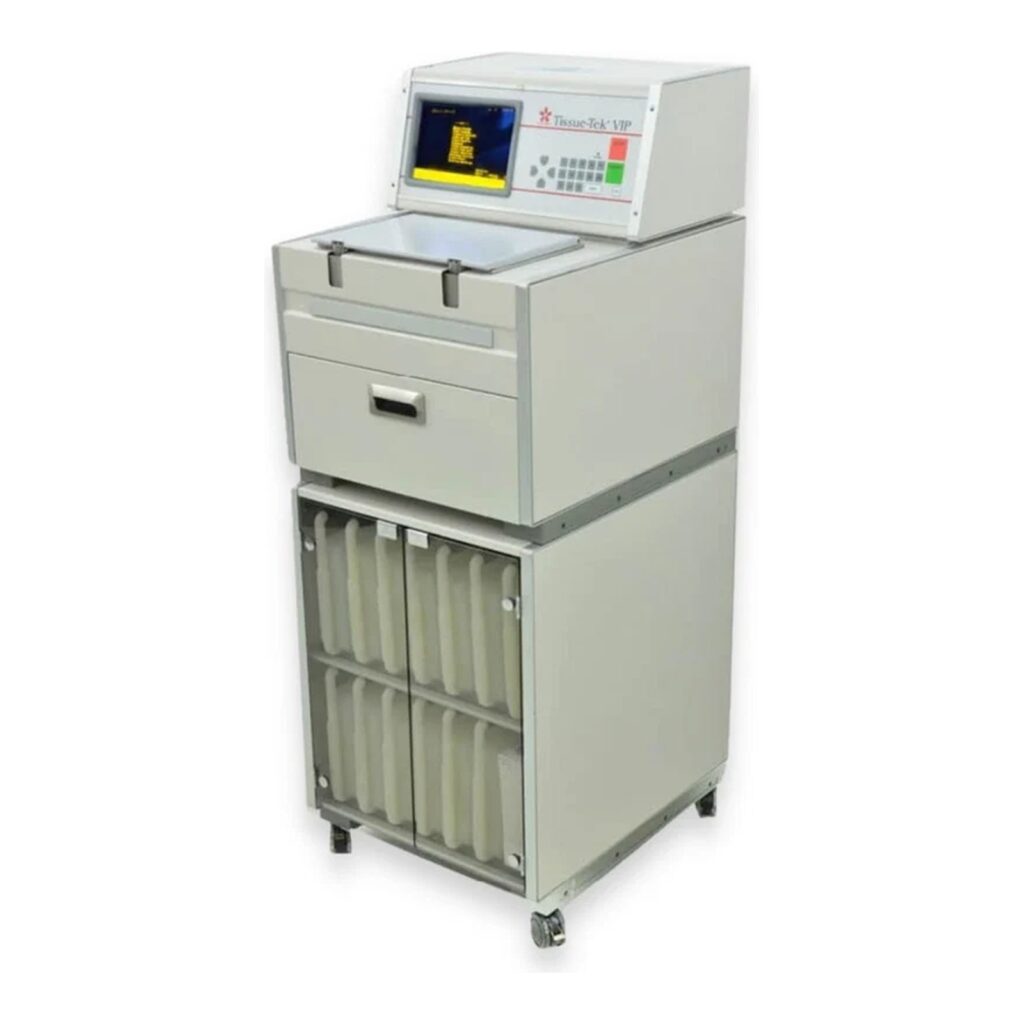
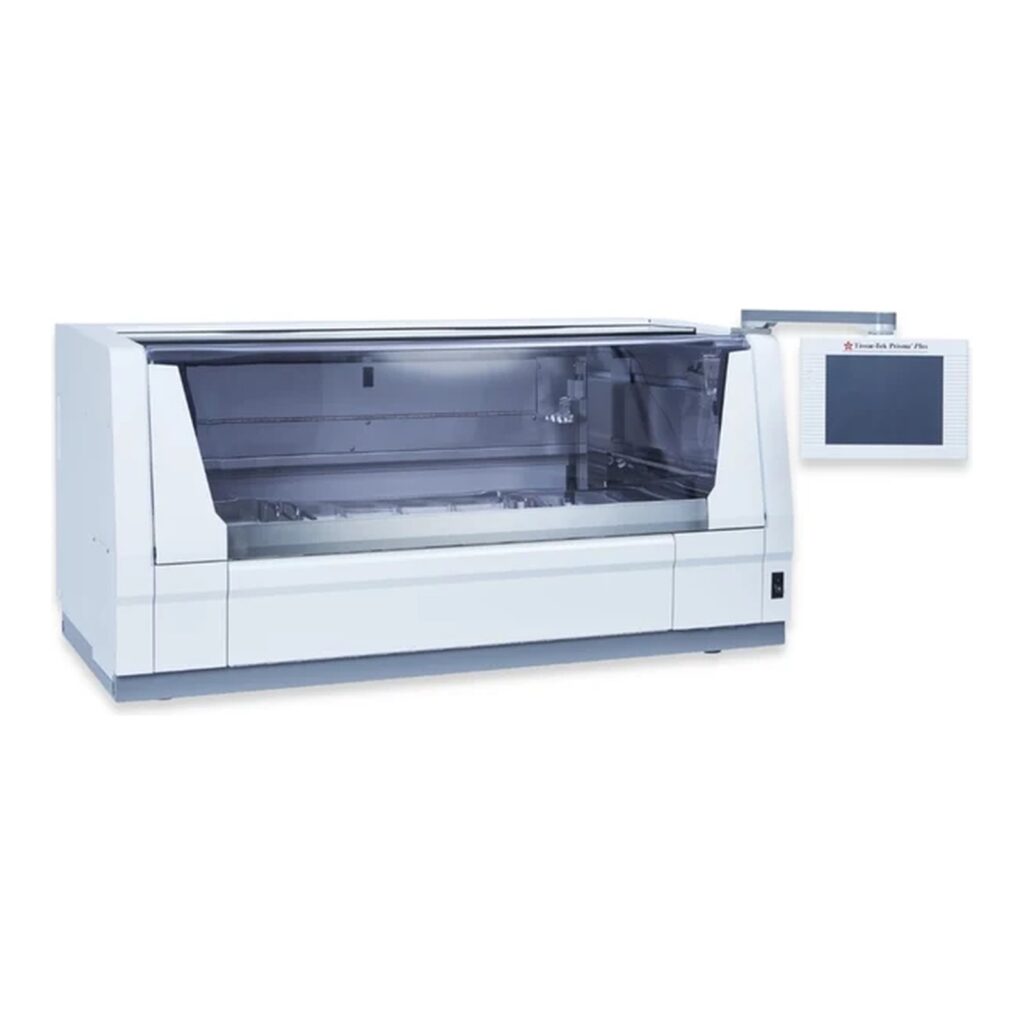
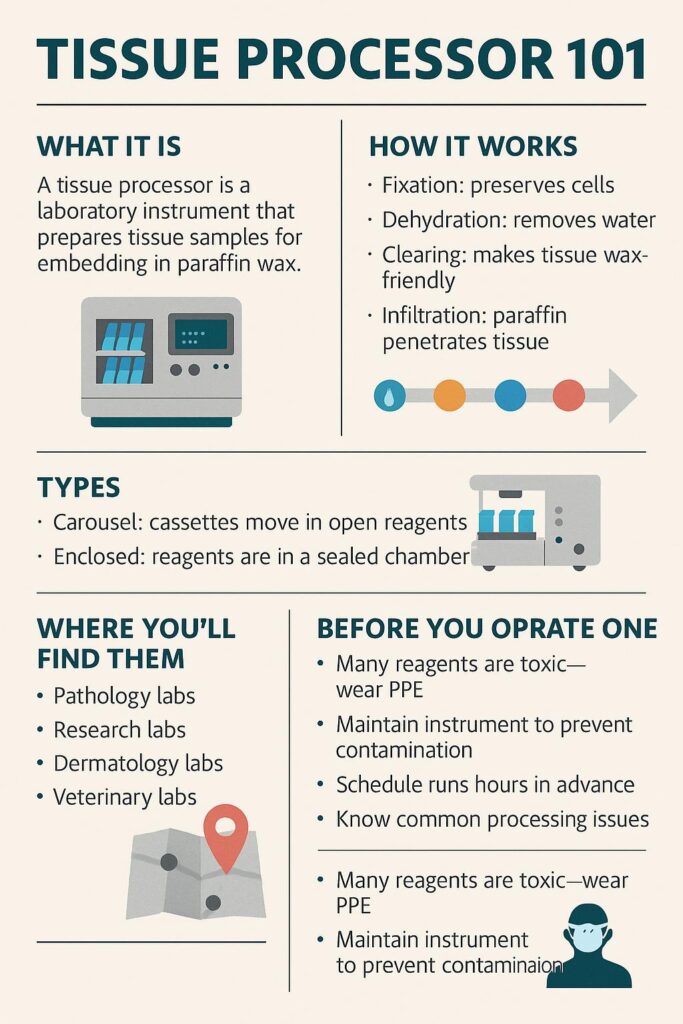
A tissue processor is a laboratory instrument designed to prepare biological tissue samples for embedding in paraffin wax. This preparation is crucial because it allows pathologists to cut the sample into extremely thin slices (microns thick) that can then be mounted onto glass slides for microscopic examination.
Without proper processing, tissue samples would quickly degrade or collapse under the blade of a microtome, making them impossible to study accurately.
Why Are Tissue Processors Important?
The tissue processor’s job is to replace water inside the tissue with supporting materials, usually paraffin wax, in a way that preserves the structure and integrity of the specimen. Proper processing:
Prevents tissue shrinkage or distortion
Preserves cellular detail for diagnosis
Allows for consistent, repeatable preparation
Increases efficiency by automating a complex multi-step procedure
In a busy clinical or research lab, this automation saves countless hours compared to manual processing, while also reducing error.
How Do Tissue Processors Work?
While there are variations between models and manufacturers (Sakura, Leica, Thermo, Avantik, etc.), most tissue processors perform the same basic series of steps. The process is sometimes called “tissue dehydration and infiltration.”
Here’s the simplified workflow:
Fixation – Samples are immersed in fixative (often formalin) to preserve cellular structure.
Dehydration – Water is removed from tissue through increasing concentrations of alcohol.
Clearing – Alcohol is replaced with a solvent (like xylene) that makes tissue receptive to wax.
Infiltration – Molten paraffin wax infiltrates the tissue, filling the spaces where water once was.
At the end of this process, the tissue is firm and uniform, ready to be embedded in paraffin blocks for microtome sectioning.
Types of Tissue Processors
There are two main categories of tissue processors you’ll encounter:
Carousel Processors
Tissue cassettes are moved between multiple reagent containers arranged in a circular carousel.
Often require manual loading and unloading of reagents.
Common in smaller labs or educational settings.
Enclosed (Automated) Processors
Reagents are sealed in an enclosed chamber, minimizing exposure and fumes.
Offer automated reagent exchanges and heating cycles.
Provide better safety, consistency, and efficiency — preferred in most modern labs.
What Does a Tissue Processor Look Like in Action?
Imagine a technician preparing multiple small cassettes, each containing a piece of tissue. These cassettes are placed inside the processor, which then runs an automated program. Over the course of several hours (sometimes overnight), the processor cycles the tissue through the reagents step by step.
By morning, the tissue is fully infiltrated with paraffin and ready to move on to the embedding center, where it’s encased in wax blocks for sectioning.
Where Are Tissue Processors Used?
Tissue processors are a backbone of histopathology and are found in:
Hospital pathology labs – for cancer diagnosis and biopsy analysis.
Dermatology & Mohs surgery labs – for rapid skin tissue processing.
Research labs – where cellular structures must be studied in detail.
Veterinary labs – for animal pathology.
Anywhere tissue samples are studied microscopically, a tissue processor is almost always in use.
Things Beginners Should Know Before Operating One
If you’re new to using tissue processors, here are some key points to keep in mind:
Safety first: Many reagents (like xylene and formalin) are toxic. Always use proper ventilation and PPE.
Routine maintenance matters: Regular cleaning and changing of reagents prevents contamination and ensures consistent results.
Processing schedules vary: Different tissues (skin vs. organ vs. bone) may require adjusted protocols.
Downtime planning: Processors can take several hours to run — schedule workloads accordingly.
Troubleshooting basics: If tissue comes out brittle, shrunken, or mushy, it often means one step in the cycle failed or a reagent was degraded.
Final Thoughts
For anyone entering the field of dermatology, pathology, or histology, the tissue processor is one of the first pieces of lab equipment you’ll become familiar with. It might look intimidating at first, but it plays a simple, critical role: turning fragile, perishable samples into durable blocks that can be studied for accurate diagnoses.
Understanding what a tissue processor does, why it’s needed, and how it fits into the larger histology workflow will give beginners the foundation they need to start learning the more advanced aspects of lab work.
Cryostats are among the most important pieces of equipment in dermatology and histology labs. If you’ve ever wondered how dermatologists can diagnose skin cancer the same day they remove tissue, or how Mohs surgery achieves such high cure rates, the answer is often the cryostat.
This guide is designed for beginners — whether you’re a medical assistant, lab technician, or simply curious about how these machines work. By the end, you’ll understand what a cryostat is, how it operates, and why it’s so vital in dermatology.
What Is a Cryostat?
A cryostat is a machine that freezes and slices thin sections of biological tissue for examination under a microscope. Think of it as a highly specialized, refrigerated cutting tool. Unlike traditional methods that use paraffin embedding (a process that takes hours or even days), a cryostat makes it possible to prepare slides within minutes.
In dermatology, cryostats are most closely tied to Mohs micrographic surgery, the gold-standard treatment for certain types of skin cancer. During Mohs, tissue is removed, frozen, cut into thin slices, stained, and examined under a microscope — all while the patient waits. The surgeon repeats the process until no cancer cells remain, ensuring maximum precision with minimal healthy tissue loss.
How a Cryostat Works
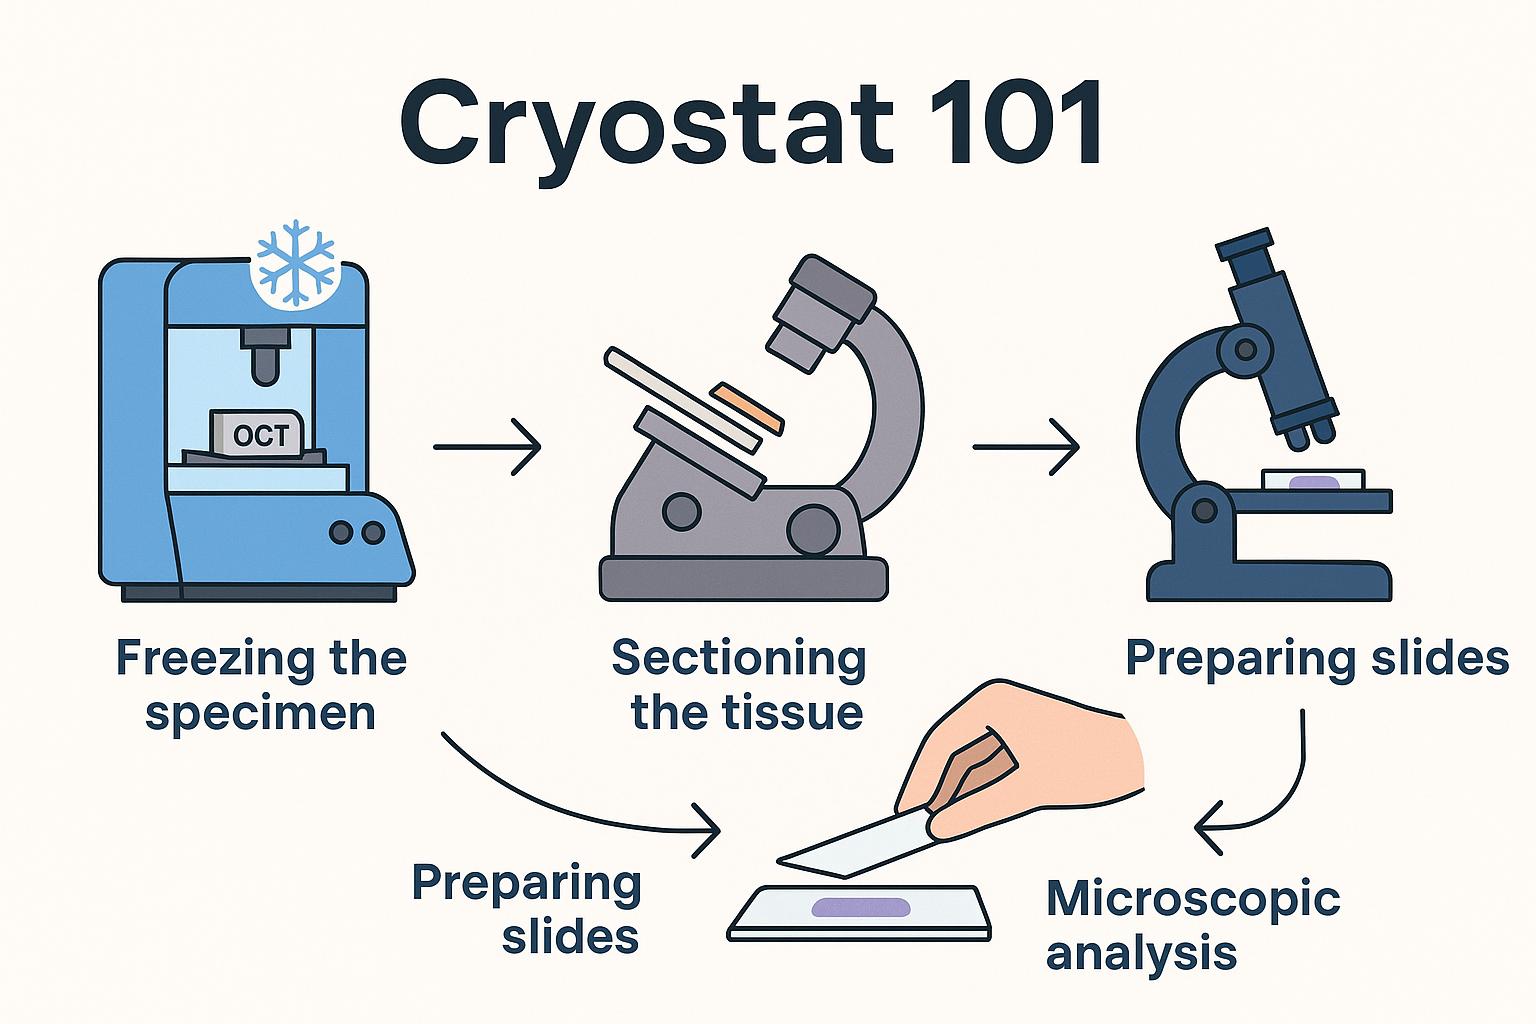
At its core, a cryostat is both a freezer and a precision slicer. Here’s what happens inside:
Freezing the Specimen
The tissue is placed in a medium called OCT (Optimal Cutting Temperature compound) and mounted on a small metal disc.
This disc attaches to the cryostat’s object head, which is cooled to subzero temperatures (usually between -20°C and -30°C).
Sectioning the Tissue
Once frozen solid, the object head moves the tissue block toward a razor-sharp blade.
The built-in microtome slices the block into sections as thin as 5–10 microns (a fraction of the width of a human hair).
Preparing Slides
Each tissue slice is carefully placed on a glass slide.
Slides are then stained (often with hematoxylin and eosin, or H&E) so cells are visible under a microscope.
Microscopic Analysis
The surgeon or pathologist examines the slides immediately.
If cancer cells are still visible at the margin, another thin layer of tissue is removed from the patient, and the cycle repeats.
The Role of Cryostats in Dermatology
Cryostats have applications across medical fields, but in dermatology they are most essential for:
Mohs Surgery – Enables same-day margin control for skin cancer.
Histology Labs – Used to prepare frozen sections for diagnosing skin diseases and conditions beyond cancer.
Research – Dermatology researchers use cryostats to study tissue architecture and cellular structures.
The advantage of cryostats in dermatology is speed and precision. By bypassing slower paraffin embedding techniques, doctors can make real-time treatment decisions without sending samples to an outside lab.
What Using a Cryostat Looks Like
For beginners, it helps to picture the workflow step by step. Imagine you’re assisting in a Mohs procedure:
The surgeon removes a small layer of tissue.
You bring the specimen to the cryostat and embed it in OCT.
Within minutes, the machine freezes the block.
Using the handwheel, you advance the tissue block and cut ultra-thin slices with the microtome.
The slices are transferred to glass slides, stained, and handed back to the surgeon for immediate review.
This process repeats until the surgeon confirms all cancerous cells have been removed.
Key Features of a Cryostat
While different brands and models vary, most cryostats share these essential features:
Freezing chamber – Keeps tissue at subzero temperatures.
Object head – Holds and positions the specimen block.
Microtome blade – Slices frozen tissue with high precision.
Anti-roll plate – Prevents tissue sections from curling as they’re cut.
Controls and display – Allow users to set temperature, thickness, and other cutting parameters.
Together, these features make cryostats both powerful and user-friendly once you’re trained.
Why Beginners Should Learn Cryostat Basics
Understanding cryostats is important even if you’re not the one operating them daily. For dermatology staff, knowing the basics helps you:
Appreciate why Mohs surgery can be done in one visit.
Communicate more clearly with patients about the process.
Support surgeons and lab technicians during high-volume procedures.
Recognize the value of routine training and proper workflow.
Cryostats are not just lab equipment — they’re a critical part of how modern dermatology delivers faster, more precise care.
What You Need to Know Before Operating a Cryostat
Operating a cryostat takes training and care. Before stepping up to one, beginners should keep these key points in mind:
Temperature Control – Cryostats operate between -20°C and -30°C. Always confirm the chamber has reached the correct temperature before sectioning.
Specimen Embedding – Tissue must be embedded in OCT compound and frozen solid before cutting. Poor embedding leads to uneven or unusable sections.
Blade Safety – The microtome blade is extremely sharp. Use caution when loading, adjusting, or cleaning around it. Always engage safety guards when not cutting.
Anti-Roll Plate Use – To keep tissue slices flat, make sure the anti-roll plate is positioned correctly above the blade.
Section Thickness – Most dermatology sections are cut at 5–10 microns. Always set thickness according to the procedure (e.g., Mohs vs. routine histology).
Slide Handling – Frozen tissue is delicate. Use clean, dry slides and handle them gently to avoid damaging sections.
Staining Workflow – Know the basic staining process (commonly H&E) so slides can be prepared promptly for the surgeon or pathologist.
Defrosting – Cryostats build up frost over time. Learn when and how to perform defrost cycles to keep the chamber working efficiently.
Cleaning – Daily cleaning of the chamber and blade holder prevents contamination and keeps sections clear.
PPE & Hygiene – Always wear gloves, lab coats, and eye protection. Tissue samples are biohazardous, and the cryostat chamber is a controlled environment.
These fundamentals aren’t troubleshooting steps — they’re the baseline knowledge every beginner should have before operating a cryostat in a dermatology setting.
Final Thoughts
Cryostats may look intimidating at first glance, but at their core they are simply machines designed to do one thing very well: freeze and cut tissue into thin slices for immediate analysis.
For dermatology practices, they are indispensable. By enabling real-time tissue examination during Mohs surgery, cryostats give doctors the ability to remove cancer with pinpoint accuracy while preserving healthy skin.
For beginners, the takeaway is this: a cryostat is the bridge between surgery and diagnosis, and mastering its role is key to understanding modern dermatology workflows.