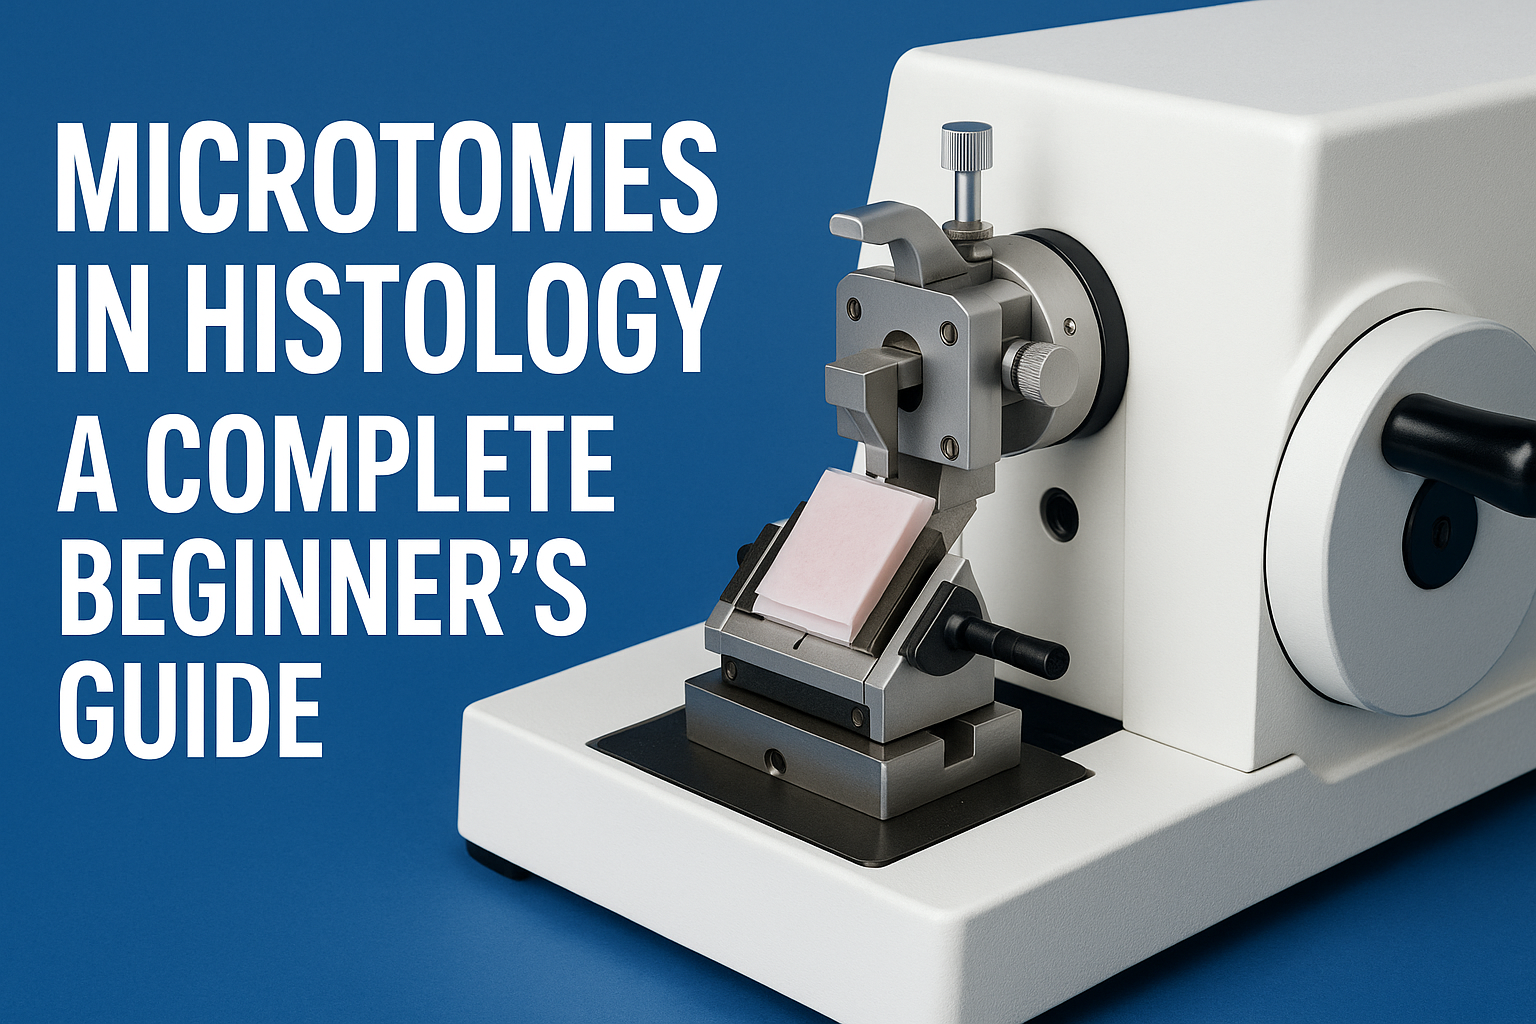
Microtomy is the process of cutting extremely thin slices of biological tissue so they can be examined under a microscope. These sections are essential for accurate diagnosis, research, and teaching in histology and pathology. Precision during this step directly affects slide quality, staining consistency, and microscopic interpretation.
This guide explains how tissue sectioning works, what equipment is involved, common challenges laboratories face, and why technique matters just as much as the tools used.
What Microtomy Is and Why It’s Used
In histology, tissue samples must be thin enough for light to pass through them evenly. Most routine laboratory sections are cut between 3 and 5 microns, though some applications require thicker or thinner sections depending on the diagnostic or research goal.
This technique is used in:
- Clinical pathology laboratories
- Hospitals and outpatient surgical centers
- Research and academic institutions
- Veterinary and forensic labs
Without consistent section thickness and clean ribbon formation, staining artifacts and distorted structures can compromise results.
How the Tissue Sectioning Process Works
Microtomy is one step in a controlled workflow designed to preserve tissue structure from collection to microscope slide.
1. Fixation
Tissue is preserved using fixatives such as formalin to prevent degradation and autolysis.
2. Processing
Water is removed and replaced with paraffin or freezing media, preparing the specimen for support during cutting.
3. Embedding
The tissue is positioned inside a paraffin block or frozen medium so the area of interest is correctly oriented at the block face.
4. Sectioning
Thin sections are cut using a microtome or cryostat. The goal is to produce a smooth ribbon of sections with uniform thickness.
5. Mounting
Sections are floated on a warm water bath to remove wrinkles and then mounted onto glass slides.
6. Staining
Slides are stained to highlight cellular and structural details for microscopic evaluation.
Each step influences the next, but sectioning is where most quality issues become visible.
Types of Microtomy Techniques
Different applications require different approaches to tissue preparation and cutting.
Paraffin Sectioning
The most common method for routine histology. Paraffin provides support while allowing sections to be cut as thin and consistent as possible.
Frozen Sectioning
Performed using a cryostat, this method allows for rapid analysis during surgical procedures. Frozen tissue is cut at low temperatures, but section quality can be more challenging to control.
Resin and Semi-Thin Sectioning
Used primarily in research, semi thin sections allow higher resolution than paraffin while remaining suitable for light microscopy.
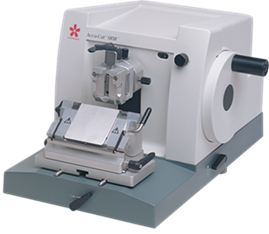
Equipment Used in Microtomy
Accurate sectioning depends on both the instrument and supporting tools.
Common equipment includes:
- Rotary and sliding microtomes
- Cryostats for frozen tissue
- Disposable or reusable blades
- Water baths and slide warmers
Blade condition, alignment, and cleanliness all play a critical role in preventing defects such as chatter or compression.
Key Variables That Affect Section Quality
Even with good equipment, technique determines results. Several variables influence how cleanly tissue is cut.
Block Face Preparation
An uneven block face can cause tearing or incomplete sections. Proper trimming ensures consistent contact between tissue and blade.
Cut Speed
Excessive cut speed can compress tissue or cause chatter. Slower, controlled motion improves ribbon formation.
Temperature and Thermal Expansion
Paraffin and tissue expand and contract with temperature changes. Improper cooling can lead to cracking, compression, or distorted morphology due to thermal expansion.
Air Bubbles
Trapped air bubbles in the paraffin block weaken support and often result in holes or skipped areas within sections.
Common Sectioning Problems and How to Fix Them
| Issue | Likely Cause | Recommended Fix |
|---|---|---|
| Wrinkled sections | Block too warm | Chill block and reduce cutting speed |
| Compression | Dull blade or high speed | Replace blade and slow the cut |
| Chatter | Hard tissue or vibration | Adjust blade angle and stabilize block |
| Poor ribbon formation | Uneven block face | Re-trim block evenly |
| Tearing | Air pockets in paraffin | Re-embed tissue if needed |
Identifying these problems early helps prevent wasted slides and repeat work.
Why Microtomy Quality Matters
Accurate diagnosis relies on clear, artifact-free slides. Inconsistent thickness or damaged tissue can:
- Mask cellular detail
- Affect stain uptake
- Lead to misinterpretation
Well-executed sectioning ensures reproducibility, reduces rework, and supports confident clinical decisions.
Who Performs Microtomy
This work is typically carried out by trained professionals, including:
- Histotechnologists (HT / HTL)
- Pathology technicians
- Research histology specialists
Experience improves consistency, especially when working with challenging tissues or specialized applications.
Final Thoughts
Microtomy is more than simply cutting tissue—it is a precision skill that combines proper preparation, controlled technique, and well-maintained equipment. When performed correctly, it produces reliable, high-quality slides that form the foundation of histologic analysis.
Understanding how variables like block preparation, cut speed, and temperature interact allows laboratories to improve outcomes, reduce artifacts, and maintain diagnostic accuracy.
Additional Resources & References
- Microtome – Encyclopedia Explanation
https://en.wikipedia.org/wiki/Microtome
Overview of what a microtome is, how it works, and its role in producing thin sections for microscopy. - Mastering the Art of Sectioning: Microtomy Guide (PMC)
https://pubmed.ncbi.nlm.nih.gov/PMC12414758/
A comprehensive research article explaining the microtomy process, tools, and techniques used to prepare high-quality tissue sections. - Tissue Microtomy: An Essential Histology Technique
https://waxitinc.com/tissue-microtomy-guide/
Practical explanation of tissue microtomy, its importance for disease diagnosis, and how tissue sections are prepared. - Steps to Better Microtomy — Leica Microtomy Guide
https://www.leicabiosystems.com/us/knowledge-pathway/steps-to-better-microtomy-flotation-section-drying/
Best-practice tips for preparing specimens, setting up microtomes, and avoiding common sectioning errors. - General Histology & Sectioning Overview
https://en.wikipedia.org/wiki/Histology
Contextual background on histology and how microtomy fits into the broader workflow of tissue processing and microscopic analysis.